Custom Data Fields in Visa Commercial Pay Control
Note
Some elements of Custom Data Field functionality in Visa Commercial Pay Control must be completed via the Administration module of Visa Commercial Pay Online.
What are Custom Data Fields?
Custom Data Fields allow you to create additional fields to capture specific data against your deployments and can ensure data consistency for every deployment.
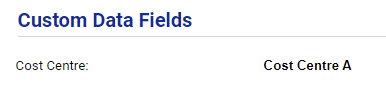 |
To configure a Custom Data Field for Visa Commercial Pay Control you will need to create a Data List, add Data List items, create a Custom Data Field Template, and select a Control Type in Visa Commercial Pay Online.
Custom Data Fields are configured per team.
Creating Custom Data Fields
To begin setting up your Custom Data Fields go to Mobile Control, click Teams and then select Teams from the dropdown.
Select the team that you want to set CDFs for and scroll down the page until you reach Custom Data Field Templates. Click Manage Templates.
If you have already configured CDFs you will see them here.
To configure new CDFs, scroll to Add Custom Data Field Templates and complete the following fields:
Name—the name of the CDF template
Level—Profile or Purchase
Control Type—AutoComplete, AutoComplete with Validation Lookup, Toggle, Drop Down List, Text Box, Validation Lookup
Data List—a list of items that can be linked to specific Control Types
Mandatory Toggle—configure the CDF template as mandatory or optional
Hidden—configure the CDF to be hidden when creating a Profile Level CDF template
Once complete, click Add.
Your new CDF will be added to the list under Custom Data Field Templates.
Note
Any data entered into the fields shown here is not saved and will not become the default data.
Using Custom Data Fields
Corporate Administrators can set Custom Data Field values when sending a card in Visa Commercial Pay Control.
Click Cards and then from the dropdown click Send Card.
Complete the required fields to send a card, and scroll down to Custom Data Fields.
Set the values of each Custom Data Field.
If you do not set the value of a Custom Data Field that requires an input you will see a blank Custom Data Field on the deployment details. If you do not set the value of a Custom Data Field that has a default value you will see the default value on the deployment details.
Corporate Administrators can configure presets from Custom Data Field Templates.
You can send a card to a Team Member, and Corporate Administrators will have the Custom Data Field control types displayed correctly. This will allow you to easily select auto-complete presets according to your Team Custom Data Field Template.
If there are defaults associated to a CDF template and Team Member, then they will be preset.
If a card has already been deployed the Corporate Administrator can edit the data list values which will contain the appropriate Control Types. This can be done by selecting the relevant deployed card and clicking Edit.
Note
Custom Data Fields cannot be edited if a card is no longer active, has been canceled or has failed to deploy.
Using Custom Data Fields in the Visa Commercial Pay App
Custom Data Fields configured for a team in Visa Commercial Pay Control will also appear for that team in the Visa Commercial Pay App when creating a new card.
Custom Data Fields are formatted in the Visa Commercial Pay App as follows:
Auto Complete—What is your [CDF Name]?
Auto Complete with Validation Lookup—What is your [CDF Name]?
Toggle—[CDF Name]
Drop Down List—What is your [CDF Name]?
Text Box—What is your [CDF Name]?
Validation Look Up—What is your [CDF Name]?
Profile Level and Purchase Level
A profile level Custom Data Field is typically associated to a team with prepopulated data per individual user, such as a department or employee number. Once the Custom Data Field Template is created, the prepopulated data can be edited by going to the users profile in Visa Commercial Pay Control.
A purchase level Custom Data Field is a value that is typically only available when a purchase is being made, such as a job number or approval code. These cannot be pre-filled because they change each time, and they will need to be typed into the Visa Commercial Pay App.
Profile level CDFs can be filled-out in an individual Team Member's profile in Visa Commercial Pay Control, or by a Team Admin within the teams section of the Visa Commercial Pay App. Alternatively, a Team Member can enter the information themselves in the Visa Commercial Pay App for both purchase level and profile level Custom Data Fields.
To preset profile level CDFs, click Teams and select Team Members. Click the Team dropdown box and select your Team. Select a Team Member to open their profile.
On the Team Member's page, you can see all profile level CDFs, and enter your own values that will automatically be entered when a Team Member creates a new card. Once you have entered your values, click Update.
Creating Data Lists
A data list is a list of items that you can link to custom data fields.
Why would I need to use data lists?
Data lists are used when you need a set of validated options for your team to select from, ensuring the information captured on your reports is clean and consistent. Without adding a preset data list your team will need to free-type their input, which may lead to incorrect reporting.
Data lists can be useful when adding custom data fields for things like employee ID, cost centre, or event name.
Data lists are compatible with the following control types:
Auto complete
Auto complete with validation lookup
Dropdown list
Validation lookup
A data list is not required if you are using the following control types:
Check box (Visa Commercial Pay Online only)
Toggle (Visa Commercial Pay Control only)
Text box
To create a data list:
Click Administration.
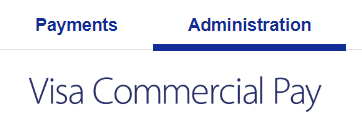
Select Data lists.
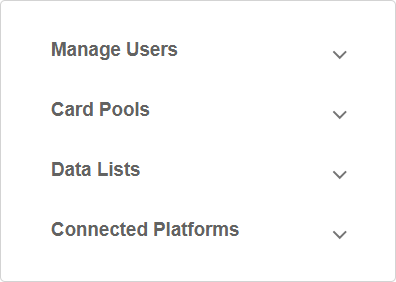
Click Create new data list.
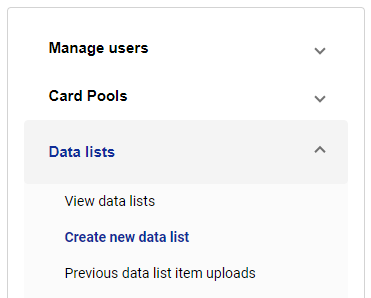
Adding Data List Items
Data List items are the options that users will see when using custom data fields.
To add data list items:
Click Administration.
Select Data lists.
Click View data lists.
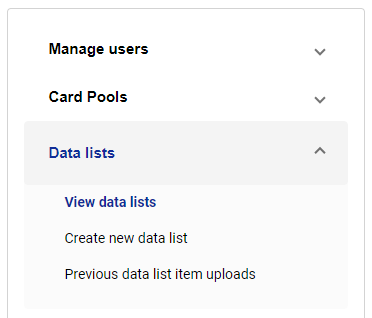
Click Add new data list, or select a Data list.
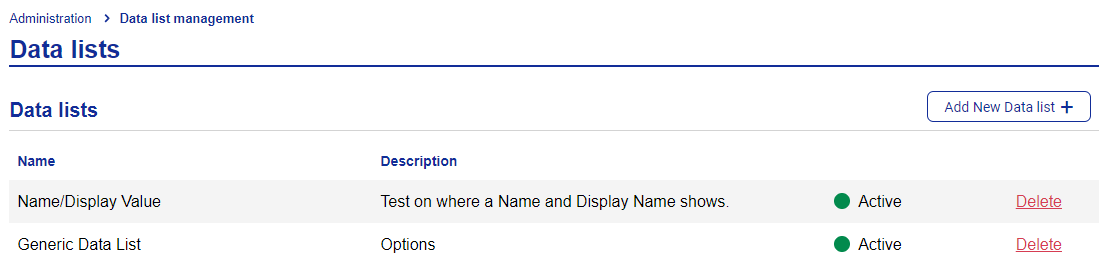
From the data list details page, click Add data list item and enter a Name and a Display value.
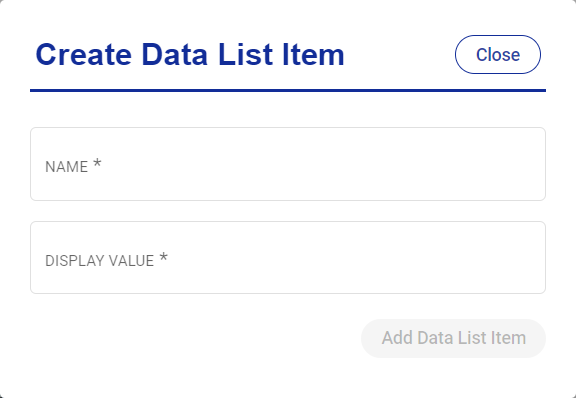
In admin-facing functions, reports, and deployment details, you will see the Name value.
In user-facing functions in Visa Commercial Pay Online and the Visa Commercial Pay App, you will see the Display value.
Data List Bulk Upload
You can bulk upload your data list items using a CSV file.
To bulk upload a data list:
From data list management select a Data list.
Click Bulk upload item.
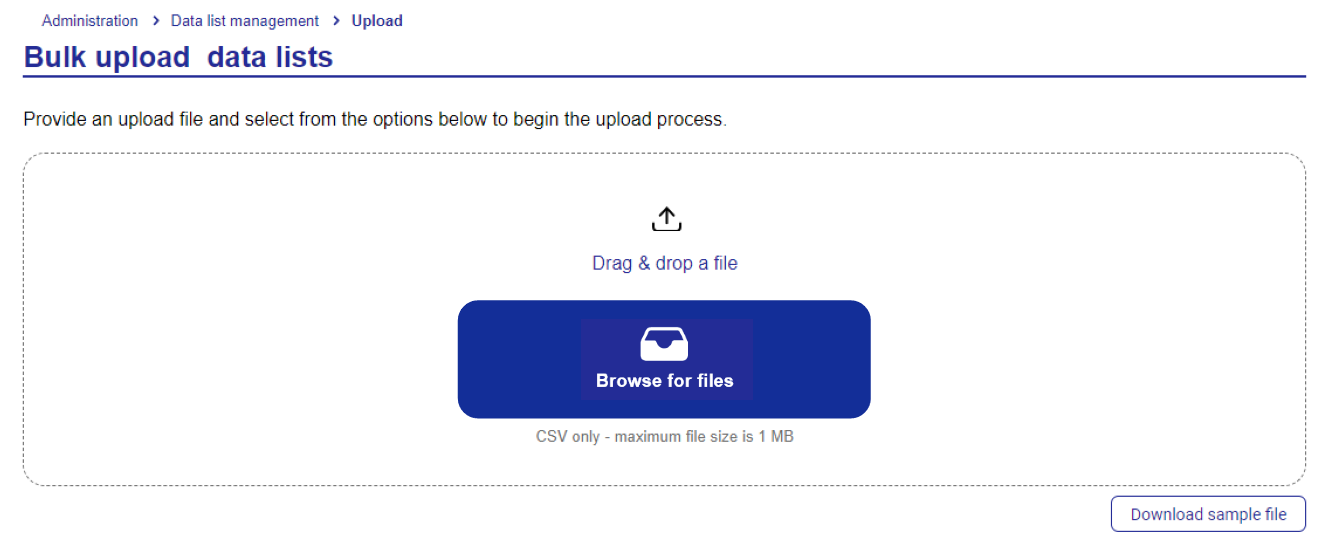
Click Choose file and select your CSV file.
If you would like to see an example of a completed file, click Download sample file to download a CSV file that details the data fields required.
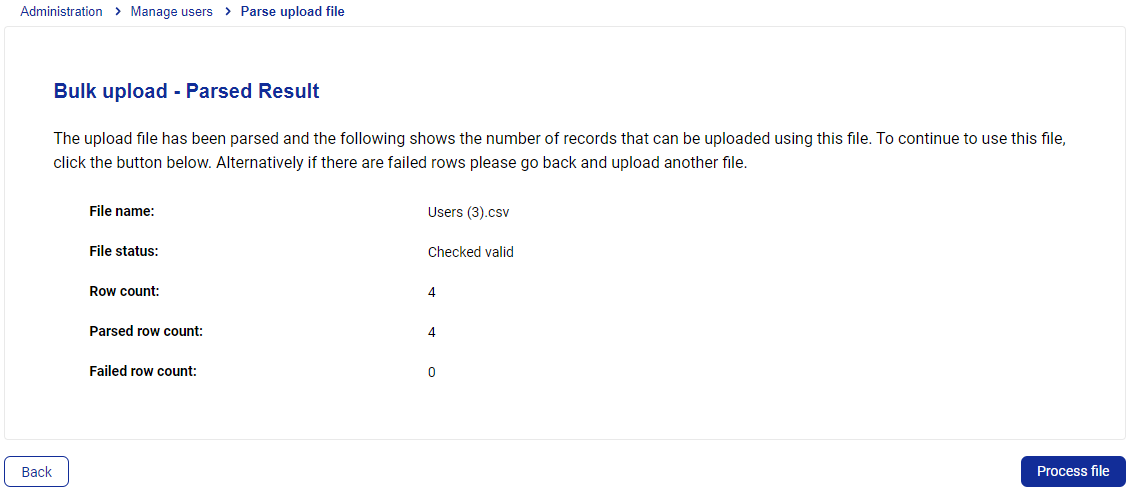
The screen will display the parsed result with the valid or failed information.
Click Process file. The file status will be 'Imported success'.

Control Types
Control types are configured when creating a custom data field template in Visa Commercial Pay Online.
Auto complete—users must begin to type. A drop down box will appear with options matching their entry. The data entered does not need to match an entry from the linked data list
Auto complete with validation lookup—users must begin to type. A drop down box will appear with options matching their entry. The data entered must match an entry from the data list
Check box (Online only)—user must click a tick box option (true/false)
Toggle (Mobile only)—users must click a binary toggle option (true/false)
Dropdown list—users must select an option from a dropdown list that is linked to a data list
Text box—users must type into a free-type text box
Validation lookup—users must type into a free-type text box. The data entered must match an entry from the linked data list