Custom Data Fields
Custom data fields are user-created fields that allow you to capture specific data against your card deployments. Setting up custom data fields will encourage data consistency for every deployment created within your organization.
To create a custom data field, you will need to do the following:
A data list is a collection of data list items that users can select from when using a compatible control type.
Add data list items to a data list.
A data list item is the individual entries that are contained within a data list.
Create a custom data field template.
A custom data field template is the field that will be visible to users when creating a card deployment.
Select a control type.
A control type is the type of field, such as a text box or a dropdown box linked to a data list, this is selected when creating a custom data field template.
Setting Up Custom Data Fields
If you are setting up a custom data field using one of the following control types, you can continue without setting up a data list:
Check box—user must click a tick box option (Visa Commercial Pay Online only)
Toggle—users must click a binary toggle option (Visa Commercial Pay App only)
Text box—users must type into a free-type text box
If you are setting up a custom data field using one of the following control types, you must first create a data list:
Auto complete—users must begin to type. A dropdown box will appear with options matching their entry. The data entered does not need to match an entry from the linked data list
Auto complete with validation lookup—users must begin to type. A dropdown box will appear with options matching their entry. The data entered must match an entry from the data list
Dropdown list—users must select an option from a dropdown list that is linked to a data list
Validation lookup—users must type into a free-type text box. The data entered must match an entry from the linked data list
What is a Custom Data Field Template?
A custom data field template is the configuration of the custom data field.
A custom data field template contains the following mandatory(*) and optional fields:
Name(*)—the name of the field
Order(*)—the order in which the field is displayed relative to other custom data fields
Report reference—report name visible in Visa Commercial Pay Reporting reporting
Regex—a pattern-matching string used to request specific data
Control type(*)—the type of custom data field, e.g. dropdown box, text box etc.
Data list—the options that the user will be able to select from, see Creating Data Lists
Default value—the preset value that will be shown when using the custom data field
Mandatory—a toggle option that requires users to complete the custom data field
Creating a Custom Data Field Template
To create a custom data field template:
Click Administration from the navigation bar.
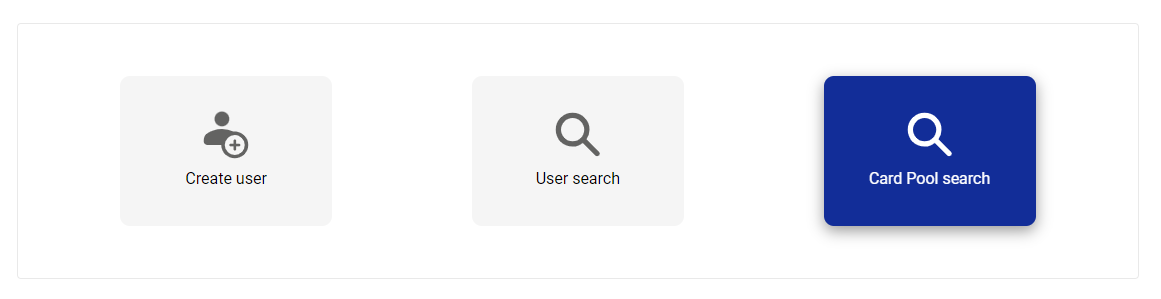
Click Card Pool search and search for the Card Pool that you want to add custom data fields to.
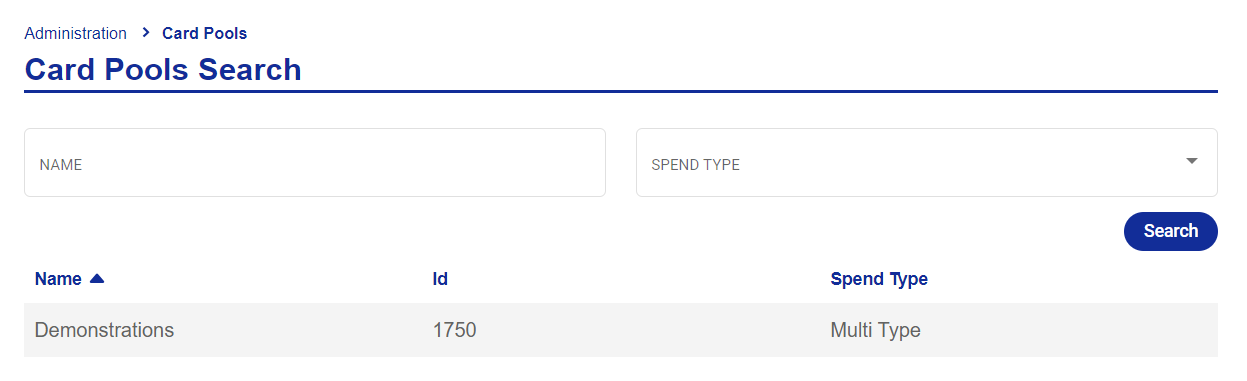
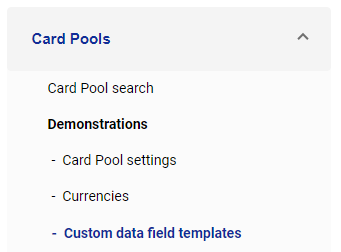
Select your Card Pool and click Custom data field templates.
Select a Spend type and then click Add template.


Enter the Name of custom data field, this will be the field label.
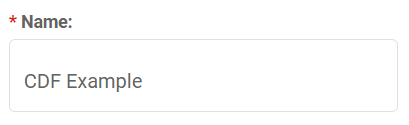
Note
The CDF Name cannot contain any special characters.
If special characters are included, reports in Visa Commercial Pay Reporting will fail.
Set the Order in which you want the custom data fields to appear.
If you only have one, set the Order as 1.
Choose a Control type and if required. choose a Data list.
Click Add.
Copying Custom Data Fields
Custom data field templates can be copied to multiple Card Pools once they have been set up.
Warning
All templates will be copied to the target Card Pool.
Copied custom data fields are not linked. Any edits made will only effect the custom data field you are editing.
To copy custom data fields:
Click Administration.
Click Card Pool search.
Select a Spend type and click Search.
Select your Card Pool.
From the left-hand menu, click Custom data field templates.
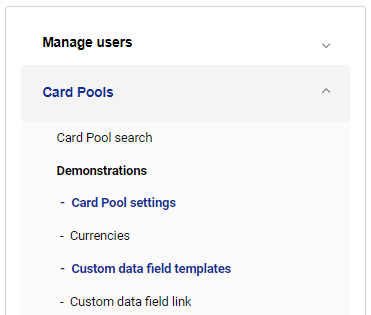
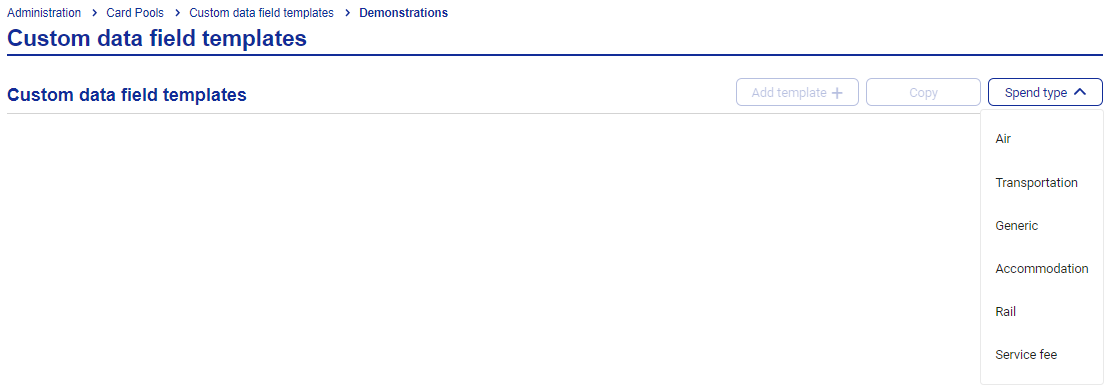
Select a spend type that you have configured custom data field templates for.
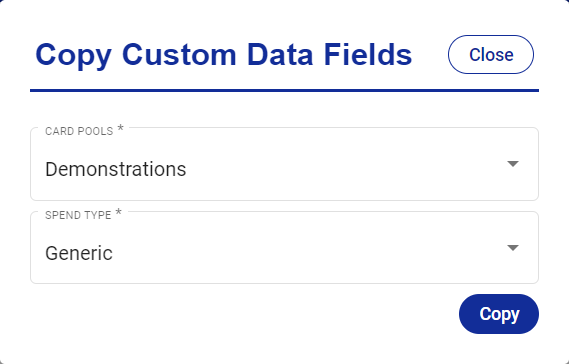
Click Copy.
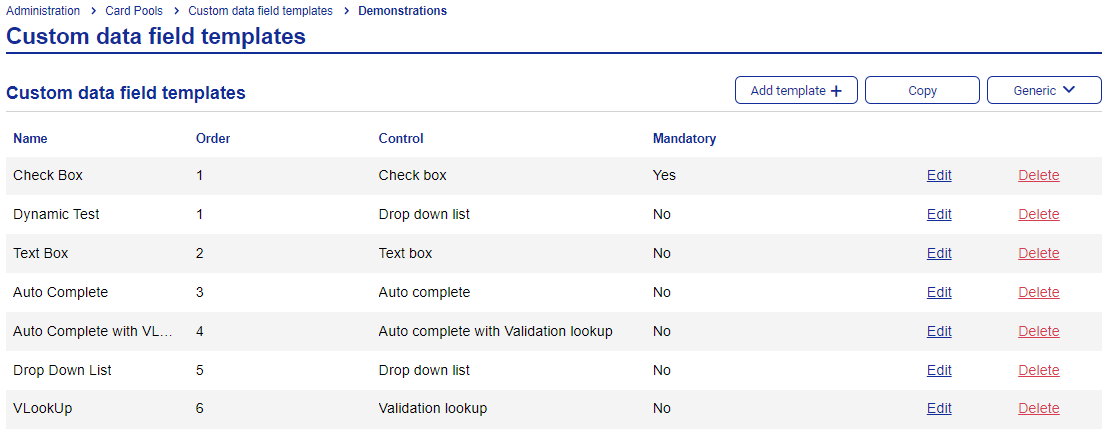
Select the target Card Pool, select a spend type and the click Copy.
Creating Data Lists
To create a data list:
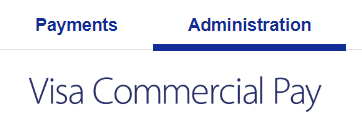
Click Administration.
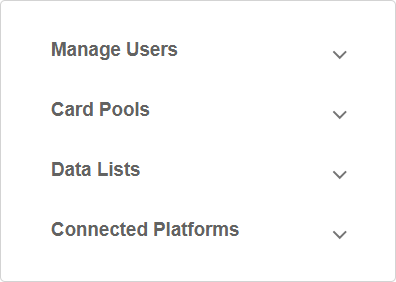
Select Data lists.
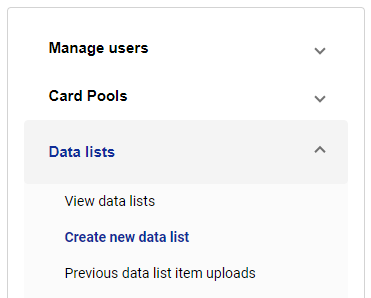
Click Create new data list.
Give your data list a name, a description, toggle Apply dynamic workflow on if required, and click Create data list.
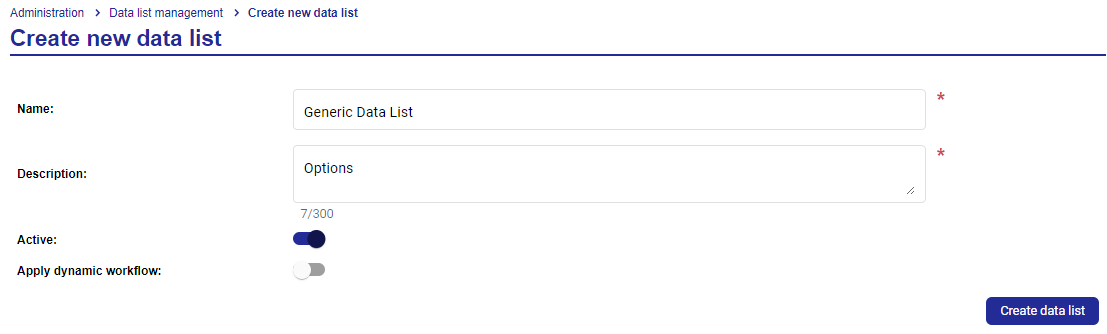
Once a data list has been created, you can begin adding data list items.
Adding Data List Items
Data list items are the options that users will see when using custom data fields.
To add a data list item:
Click Administration.
Select Data list.
Click View data lists.
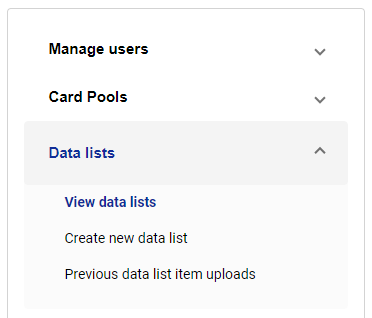
Click Add new data list, or select a Data list.
From the data list detail page, click Add data list item and enter a Name and a Display value.
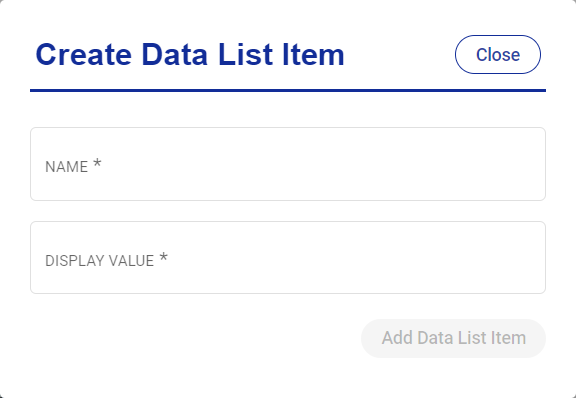
In admin-facing functions, reports, and deployment details, you will see the Name value.
In user-facing functions in Visa Commercial Pay Online and the Visa Commercial Pay App, you will see the Display value.
Data List Bulk Upload
You can bulk upload your data list using a CSV file.
Caution
Do not include any apostrophes (') or commas (,) when preparing your CSV file for upload. If any apostrophes or commas are used on the CSV file that is uploaded, the file will fail to upload.
To bulk upload a data list:
From data list management select a Data list.
Click Bulk upload item.
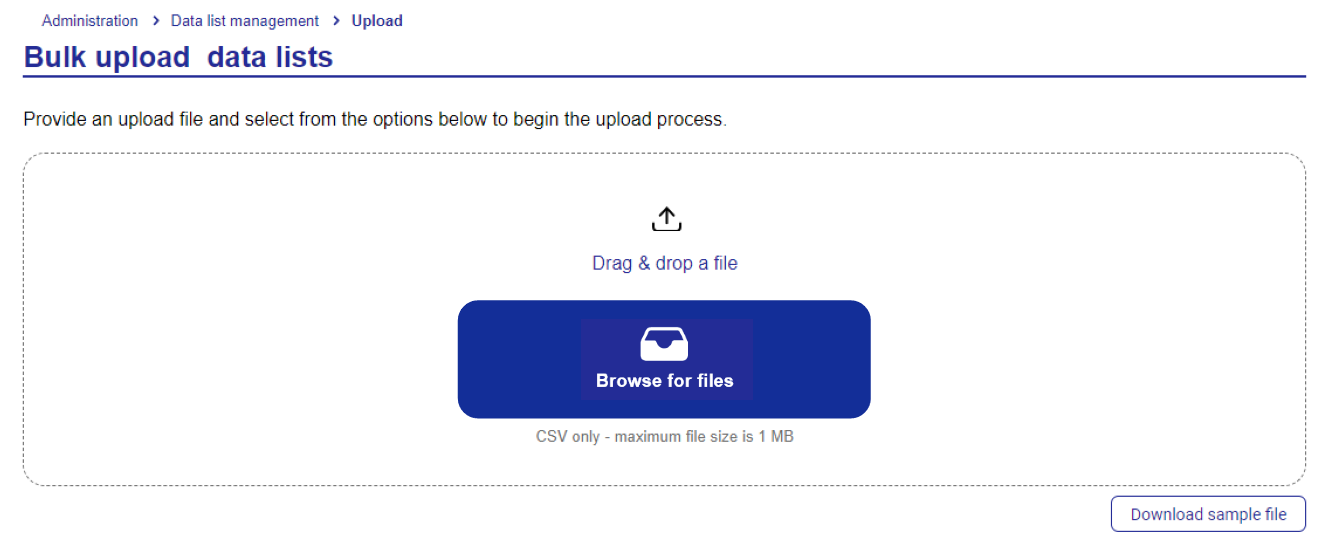
Click Choose file and select your CSV file.
Note
If you would like to see an example of a completed file, click Download sample file to download a CSV file that details the data fields required.
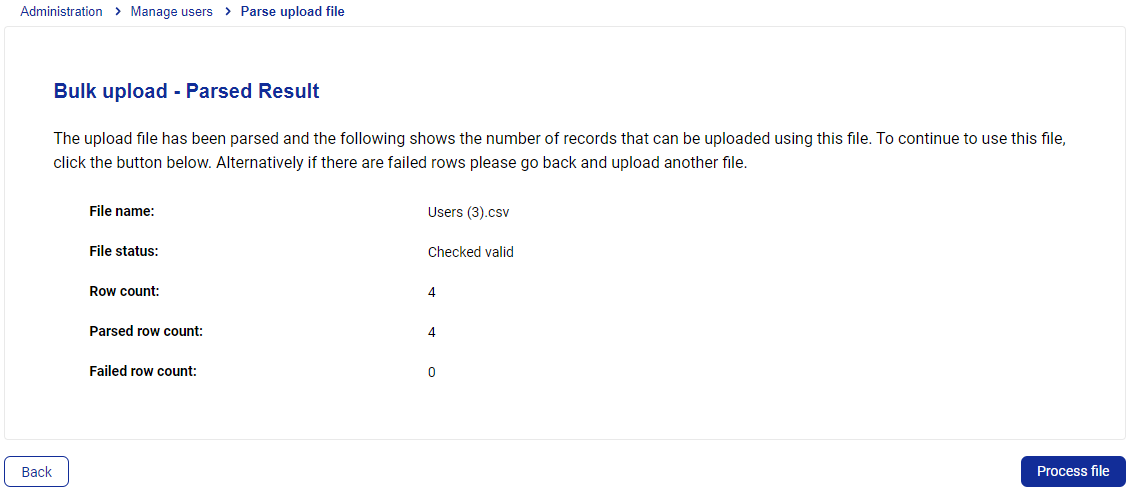
The screen will display the parsed result with the valid or failed information.
Click Process file. The file status will be 'Imported success'.

Custom Data Field Aliasing
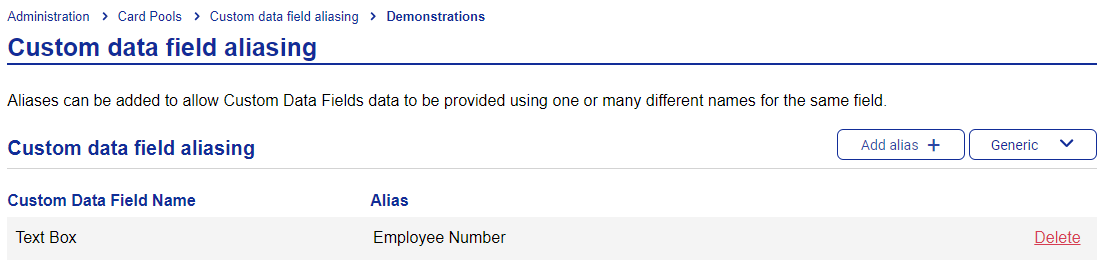
Custom data field aliasing capability allows you to utilize one or multiple different names for custom data fields on the same Card Pool, enabling a consistent reporting format.
This will facilitate the different custom data field naming labels when using multiple booking platforms. For example, 'employee ID' may also be known as 'employee name' and/or 'employee number'—the alias will show all three sets of data under one reporting column named 'employee ID'.
Click Custom data field aliasing from the Card Pool settings page to create an alias.
Select the spend type.
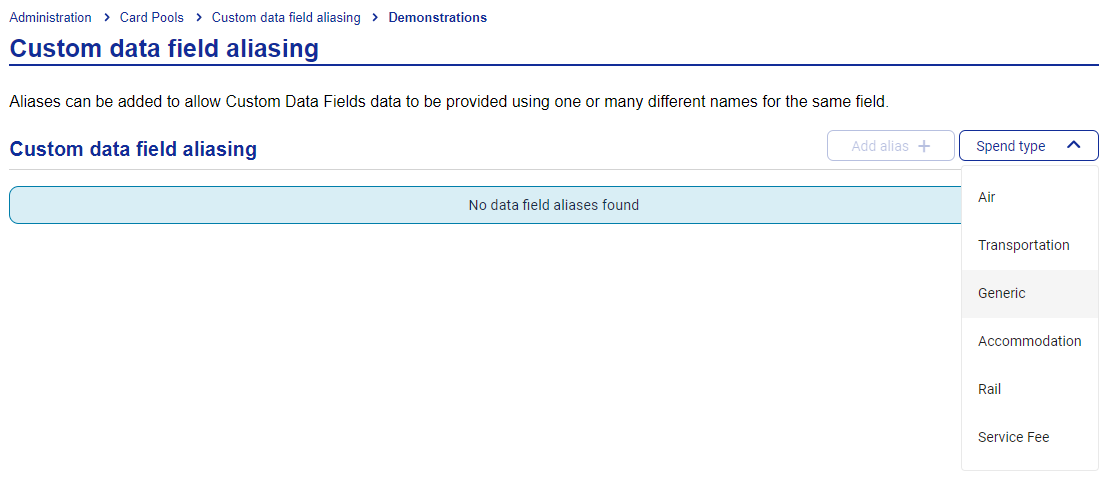
Click Add alias.

Select a custom data field from the dropdown, enter the new alias and click Add alias.
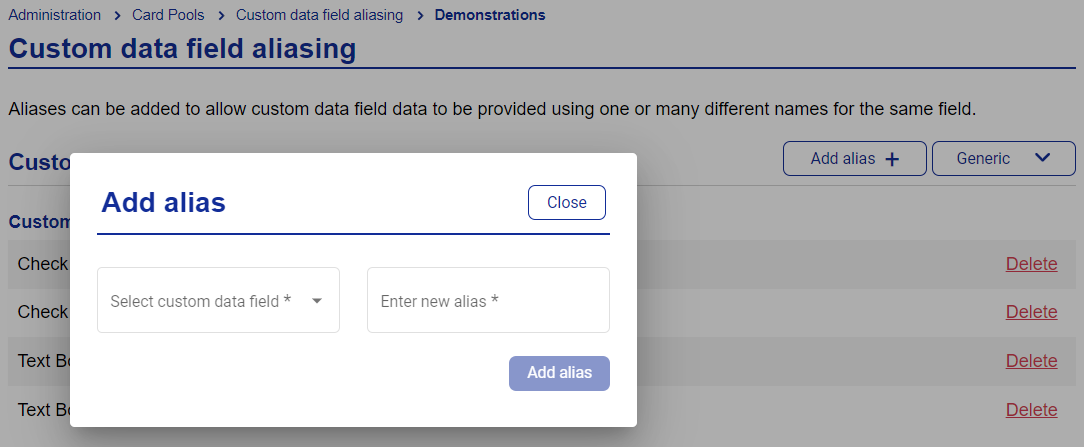
The new alias will be displayed on screen.