Scheduled Reporting in Visa Commercial Pay Online
B2B customers that are also a Visa Commercial Pay Reporting Admin can create and view scheduled reports in Visa Commercial Pay Online via the Reporting tab.
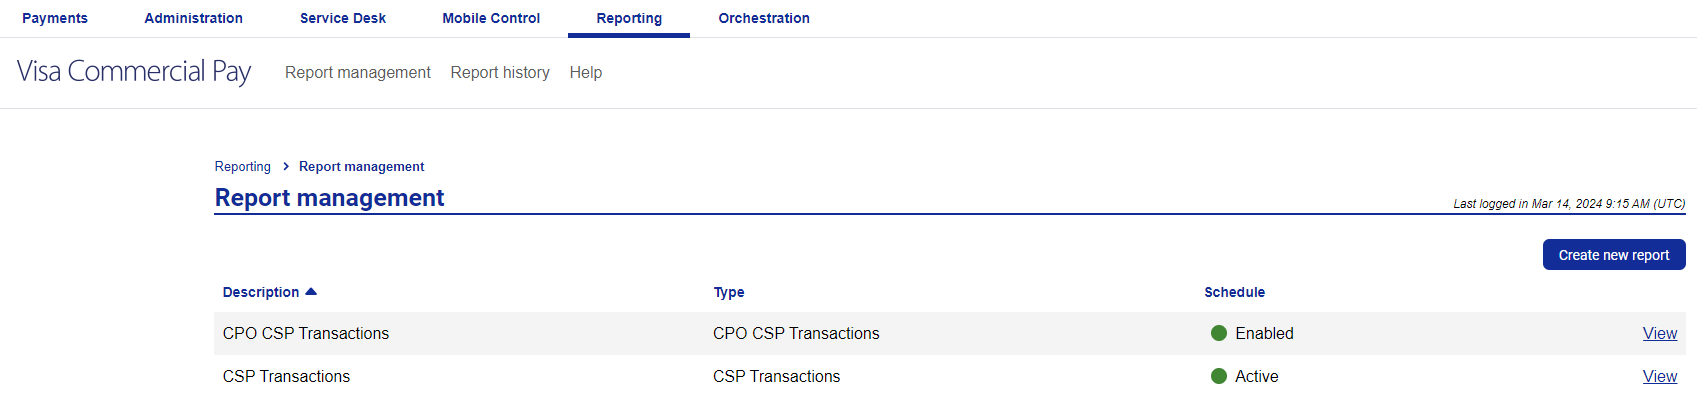
Click the Reporting tab to view the report management page, where you can view and create reports.
Access
Required User Role: Visa Commercial Pay Reporting 'Reporting Admin' + Visa Commercial Pay Online access
Availability: Scheduled Reporting is disabled by default, contact Visa Commercial Pay Support to request access.
 |
Report Types
You can create the following types of report:
Transaction
Statement
Deployment
Create a Report
From Report management, click Create new report.
Select the report type. The specific report types available to you are dependent on your consumer settings. If you would like to make additional report types available, contact the support team.
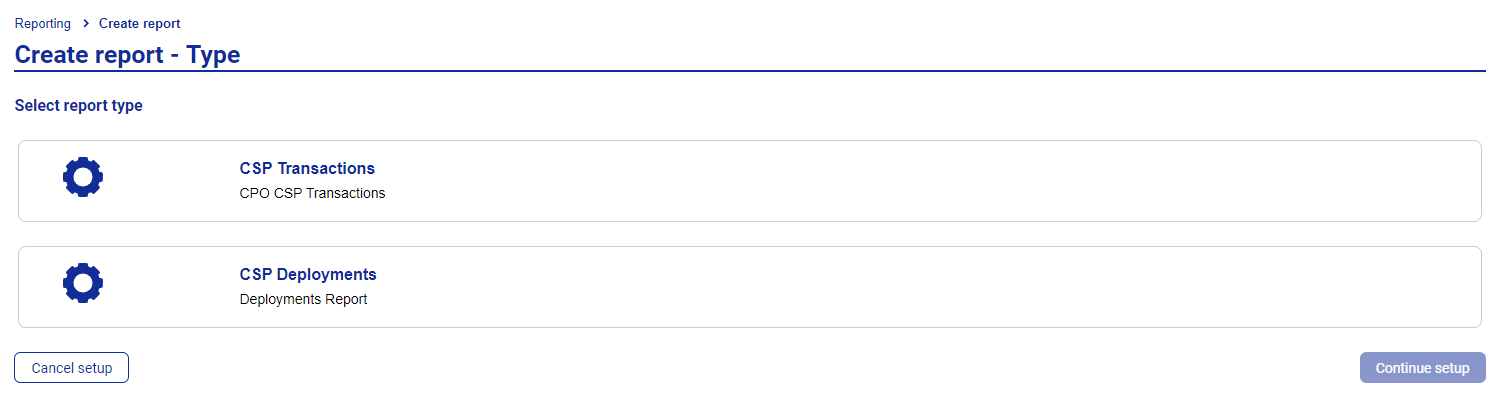
Click Continue setup.
Choose the fields that you want to include. Use the Included toggle in the top right corner to select or deselect all fields.
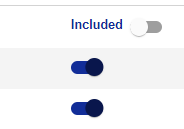
Use the individual toggles next to each field to include or exclude them from the report.
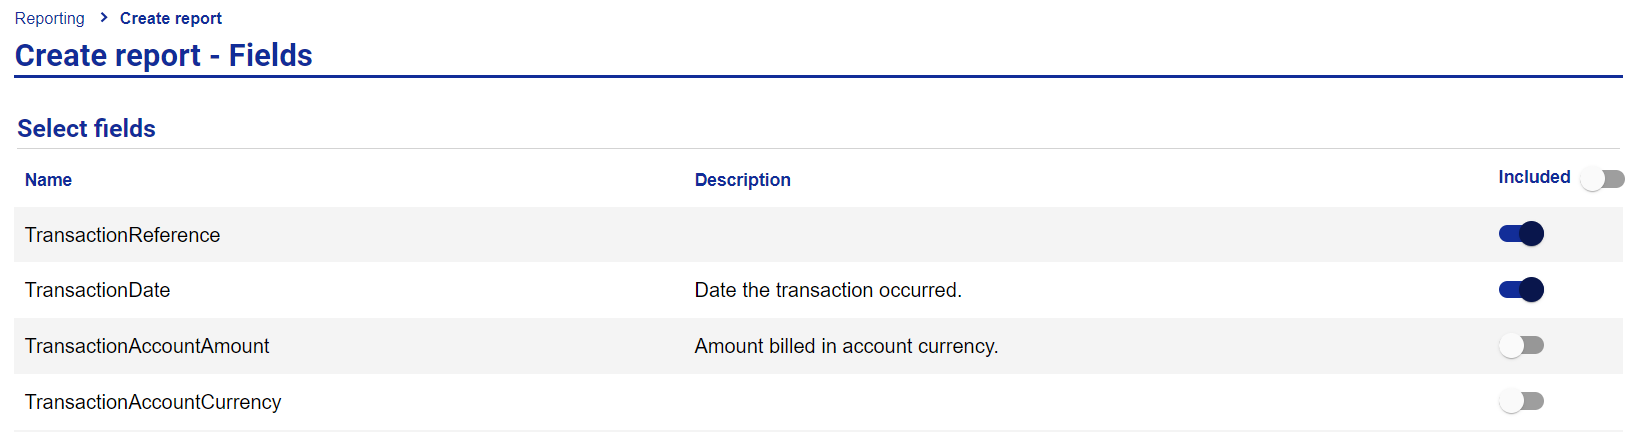
Click Continue setup.
Customize the following elements of the report fields:
Override name—allows you to free type a field name which will override the name of the column in the report.
Order—drag and drop the fields into the order you require.
Delete—click the Delete link to remove a field from the report.
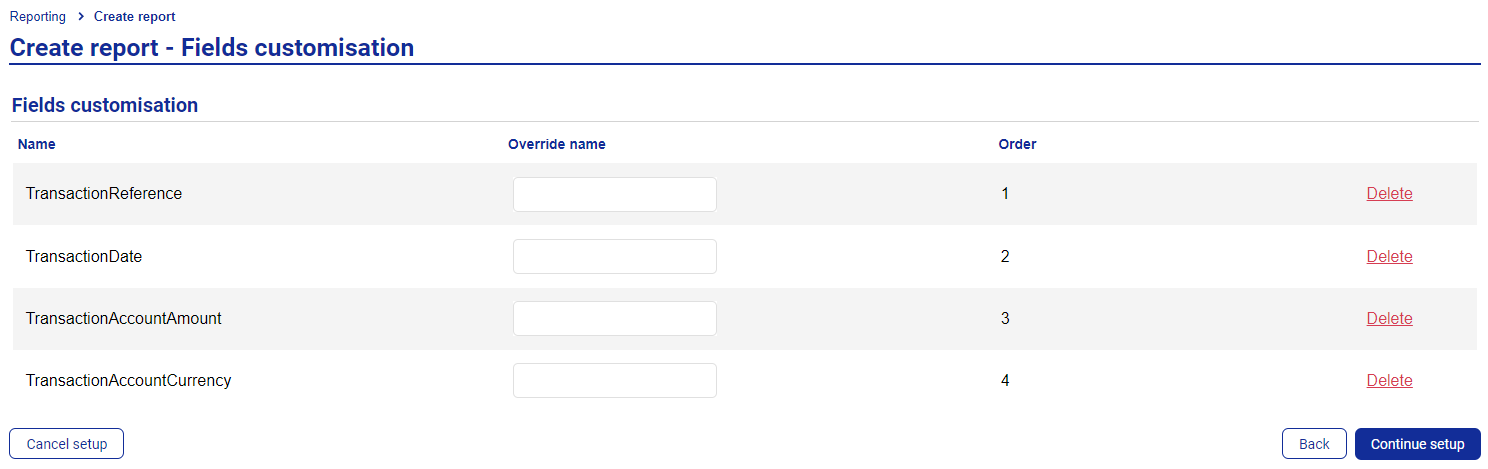
Click Continue setup.
Customize the CSV output file by selecting any applicable column and line separators.
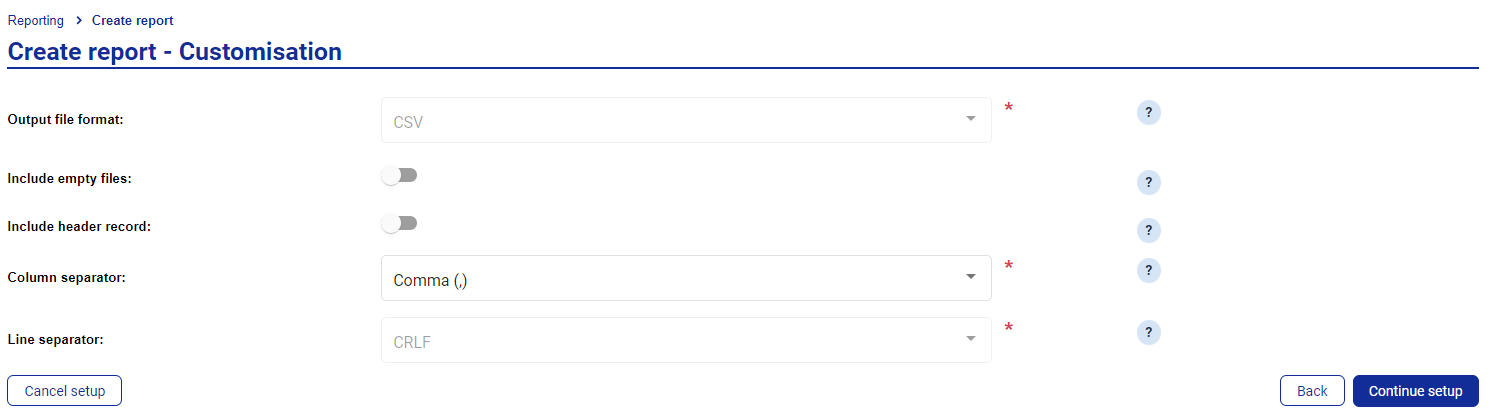
Click Continue setup.
Enter the report details:
Report name—the name you want to give the report. There is a character limit of 100 characters and special characters are allowed.
Description—a description of the report.
Report scope—the Card Pool group/s and columns that you are reporting on.
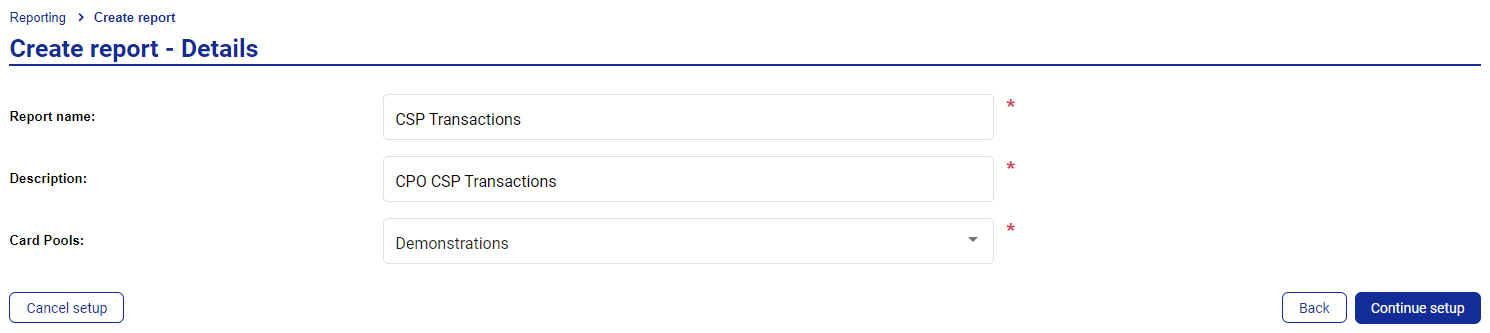
Click Continue setup.
Configure the following fields relating to the delivery of the report:
Method—the only available option is “File Download” Notification.
Notification email address—enter a comma (or semi colon) separated list of email addresses that will receive an email advising them when the report is ready to download.
Package file name—enter a custom filename for the report. This is a mandatory free-text field.
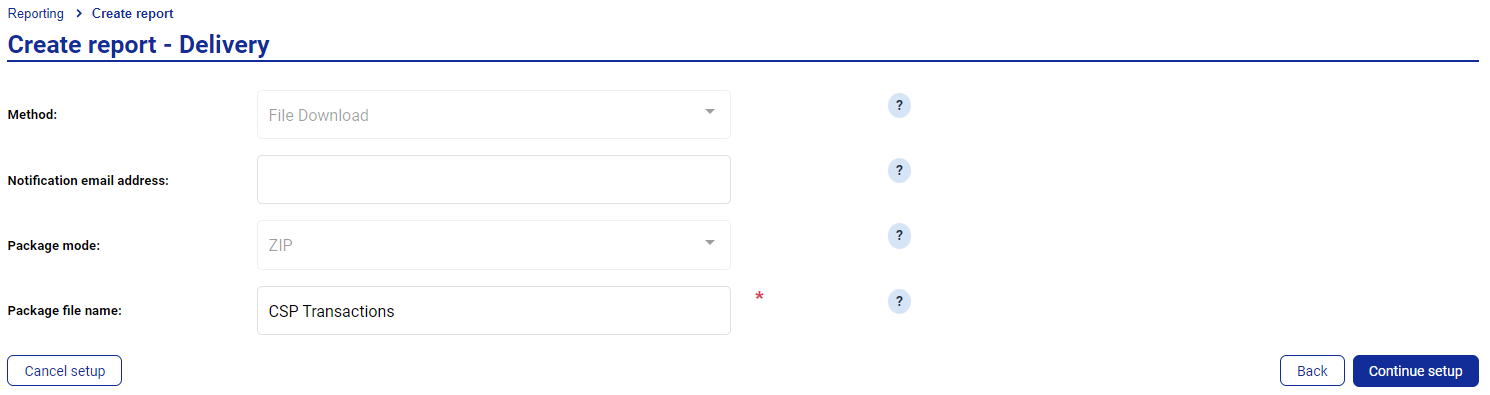
Note
The package mode field defaults to ZIP and cannot be changed.
Click Continue setup.
Configure the following fields relating to the scheduling of the report:
Frequency—the frequency of the report generation.
Time of day—the time that you want the report to be generated.
Active dates—the date range during which the report will be automatically generated.
Example
Entering 1/12/25 to 1/12/26 will schedule the report to be run at your selected frequency for one year.
Entering 1/12/25 will schedule the report to run at your selected frequency indefinitely. WARNING: This cannot be cancelled or deleted.
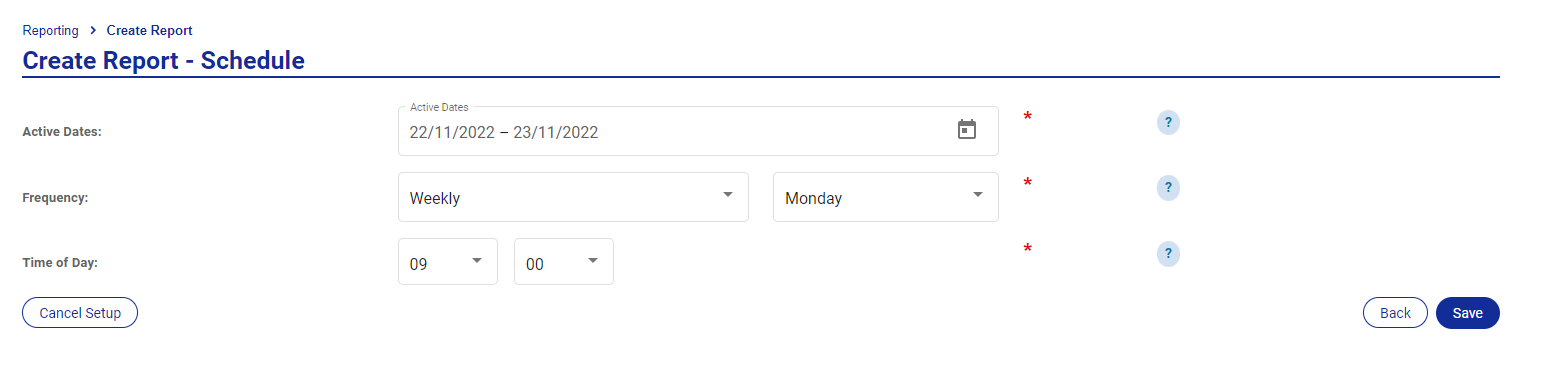
Click Save.
View Created Reports
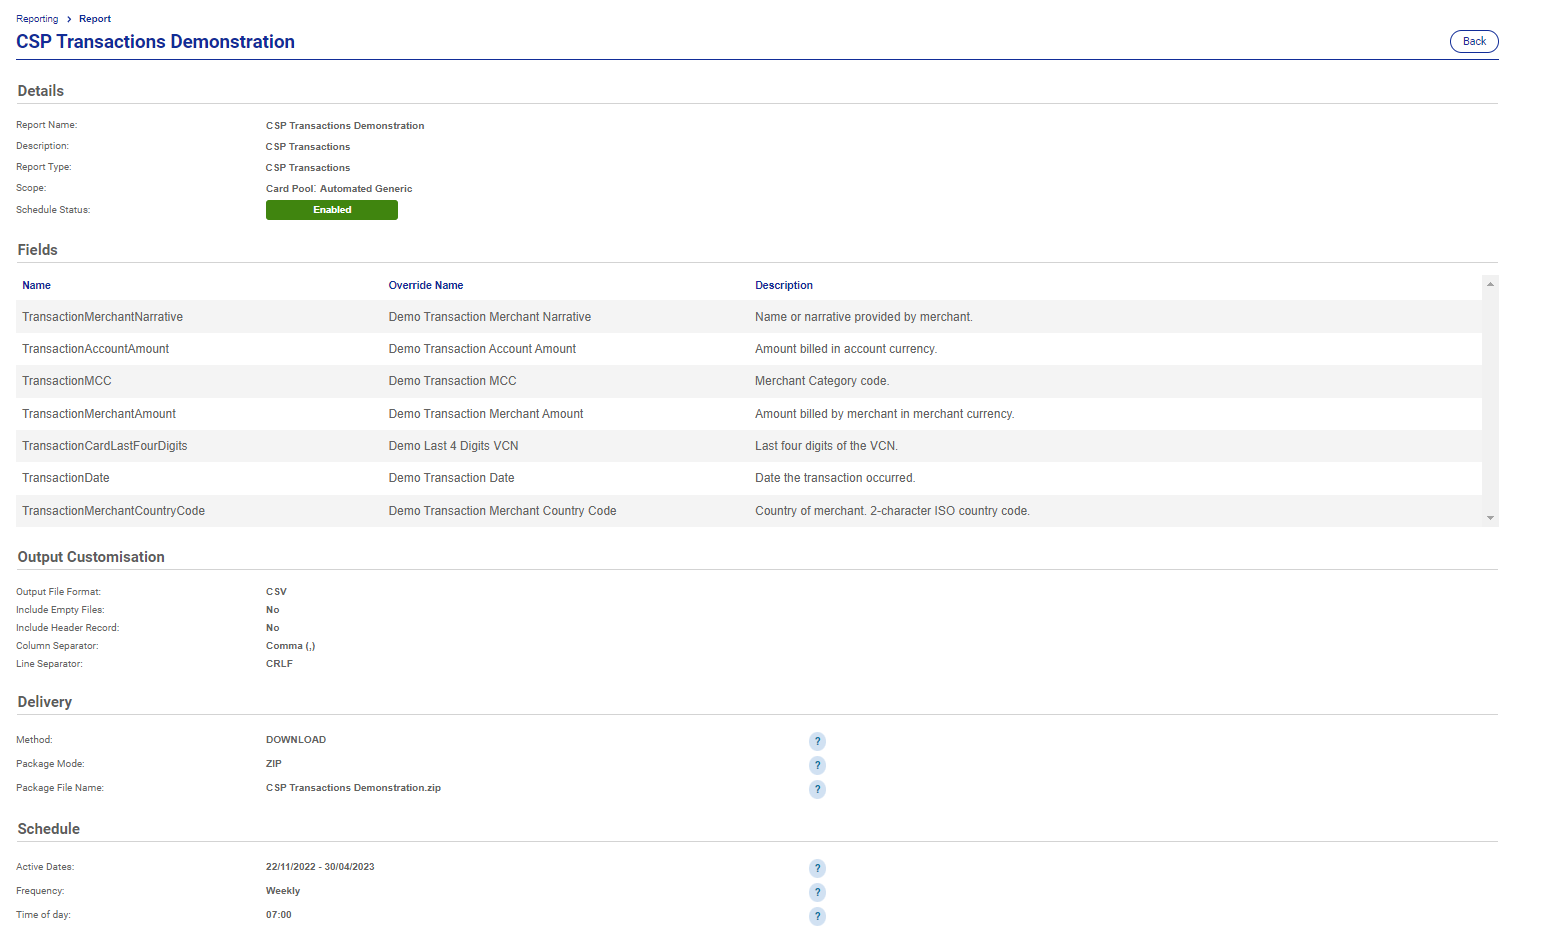
You can view the details of created reports from the report management page by clicking the view link next to the report you wish to view.
 |
Caution
You cannot delete or edit your created reports.
Report History
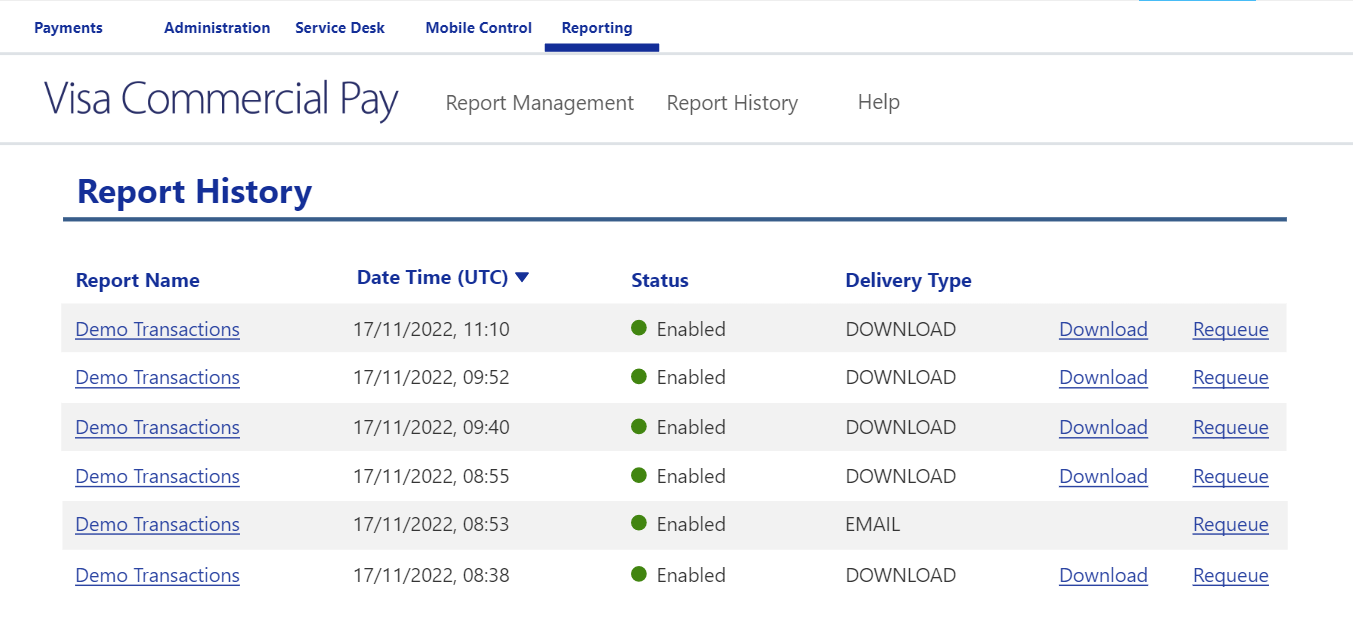
The Report history page contains details of your previously run reports.
Report name—the name of the report that you entered at the setup stage.
Date time—the date and time that the report ran.
Status—the report status.
Delivery type—the only currently available type is download. Email and MFT will be made available in the future. If you already have MFT reports set up you will be able to see that they have run, but you will not be able to download them from Report history.
Download—click Download to download the report file.
Requeue—click the requeue link to rerun the report for the original date range. This will include any data that was not available (had not been received) at the time the report was originally run.
 |