Creating a Rail Card in Online
Rail cards can be used to purchase train tickets. You can capture traveler details, supplier information, journey details and custom data fields. You can also add ancillary details and service fees, if required.
Click Rail.
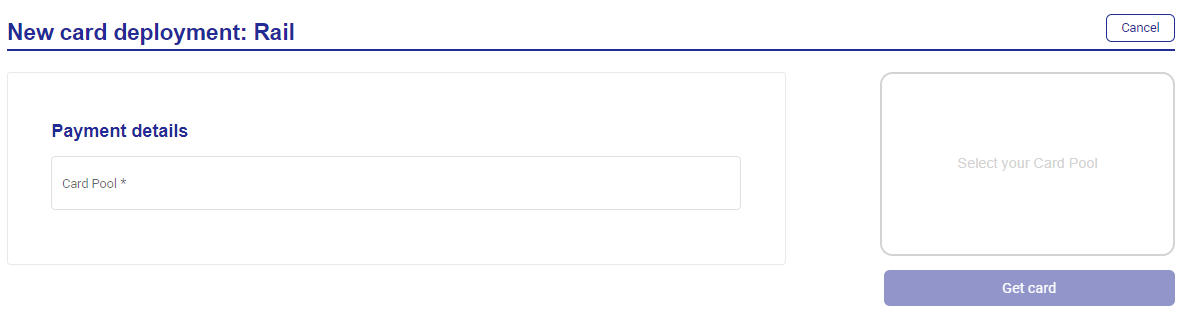
Select your Card Pool from the dropdown.
Enter the payment details:
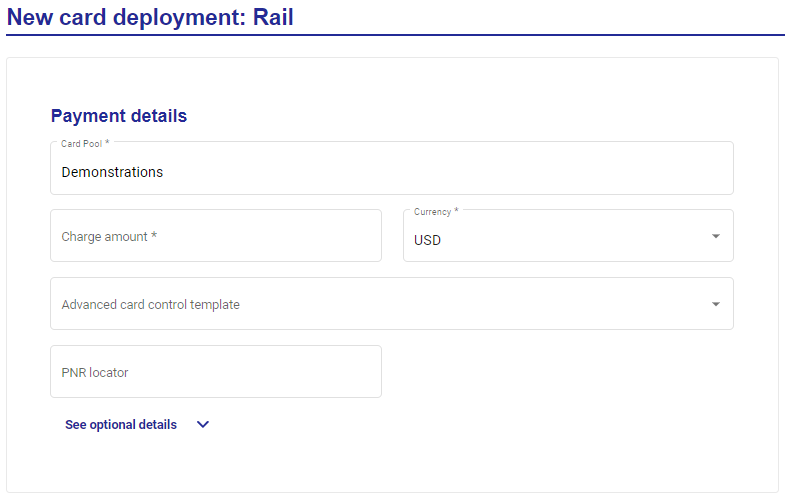
Charge amount
Currency
PNR locator
Click See optional detail to enter:
Reference
Customer ID
Customer name
Supplier reference
Enter the traveler details:
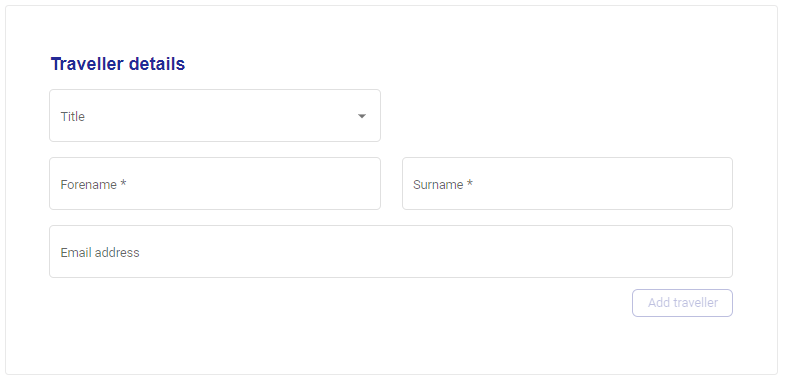
Title
Forename
Surname
Email address
Click Add Traveller.
Enter the supplier information:
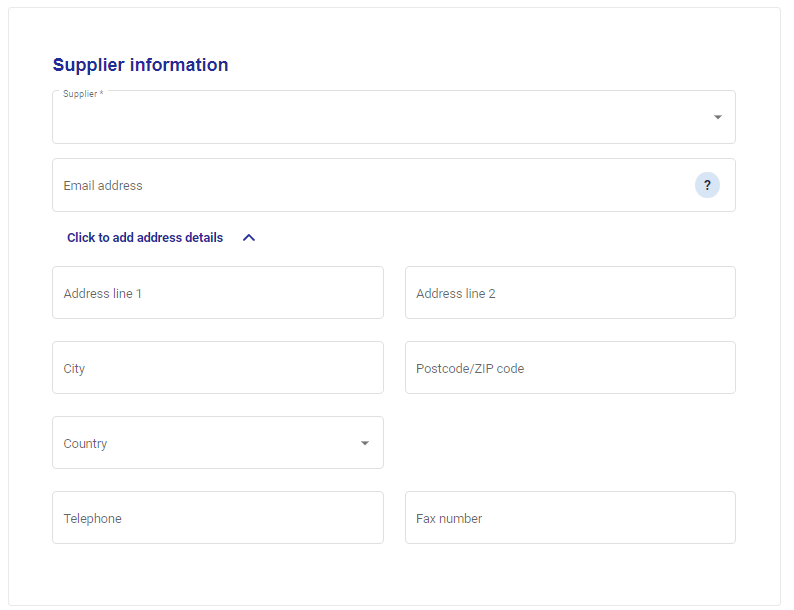
Supplier
Email address
Address details
Enter the rail journey details:
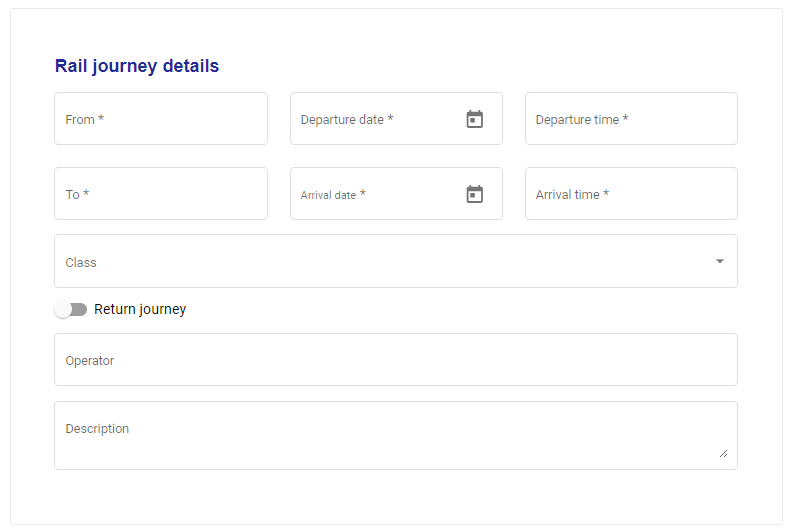
From—departing station
To—arrival station
Departure date
Departure time
Arrival date
Arrival time
Class
Operator
Description
Return Journey
Toggle Return journey on to add the same details for the return. Leave Return journey toggled off if the trip is only one-way.
Enter the ancillary details:
Reference
Amount
Currency
Description
Enter the service fee details:
Amount
Currency
Fee date
Description
Enter your custom data field values.
Click Get card.