Visa Commercial Pay Online v3.28 Release Notes
Visa Commercial Pay Online v3.28 introduces the ability to bulk download images, budget management and batch deployments.
Bulk Download Images
We have introduced functionality which allows users to bulk download images in Visa Commercial Pay Online. Users are able to download images from multiple deployments or transactions efficiently. To download images:
From the Payments screen, click Documents in the menu bar. Users can search using one or more of the criteria displayed:
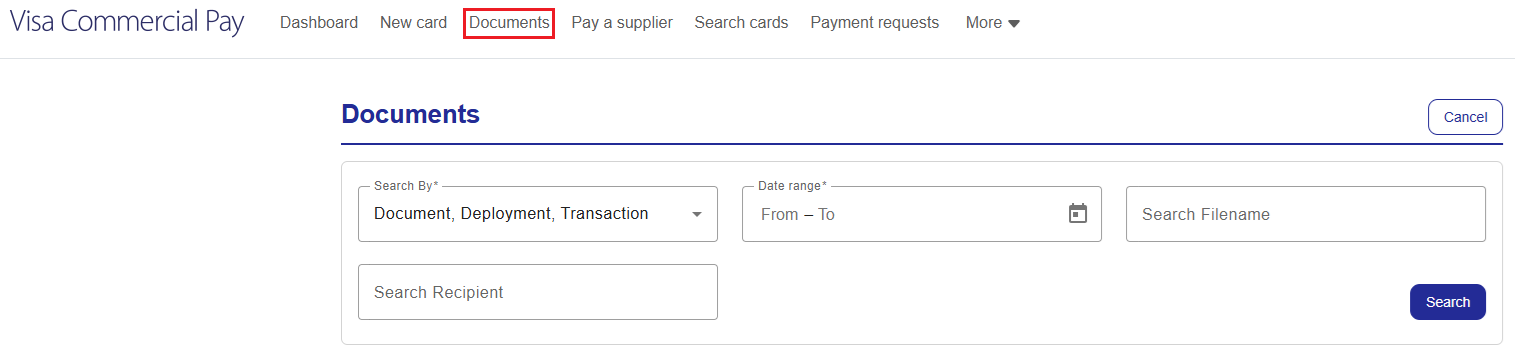
Select All or one of the categories from the drop down (this field is mandatory):
Deployment ID
Transaction ID
Document ID
Enter a date range (this field is mandatory).
Enter a file name (this is optional).
Enter the card recipient (this is optional).
Click Search.
Click Select multiple and choose up to 500 files to be downloaded.
Click Download selected.
Budget Management
We have introduced Budget Management in Visa Commercial Pay Control which provides further tools to allow Corporate Admins to manage team budgets and track a teams spend against the budget. Team Admins will be able to view team budgets in the app.
To create a budget:
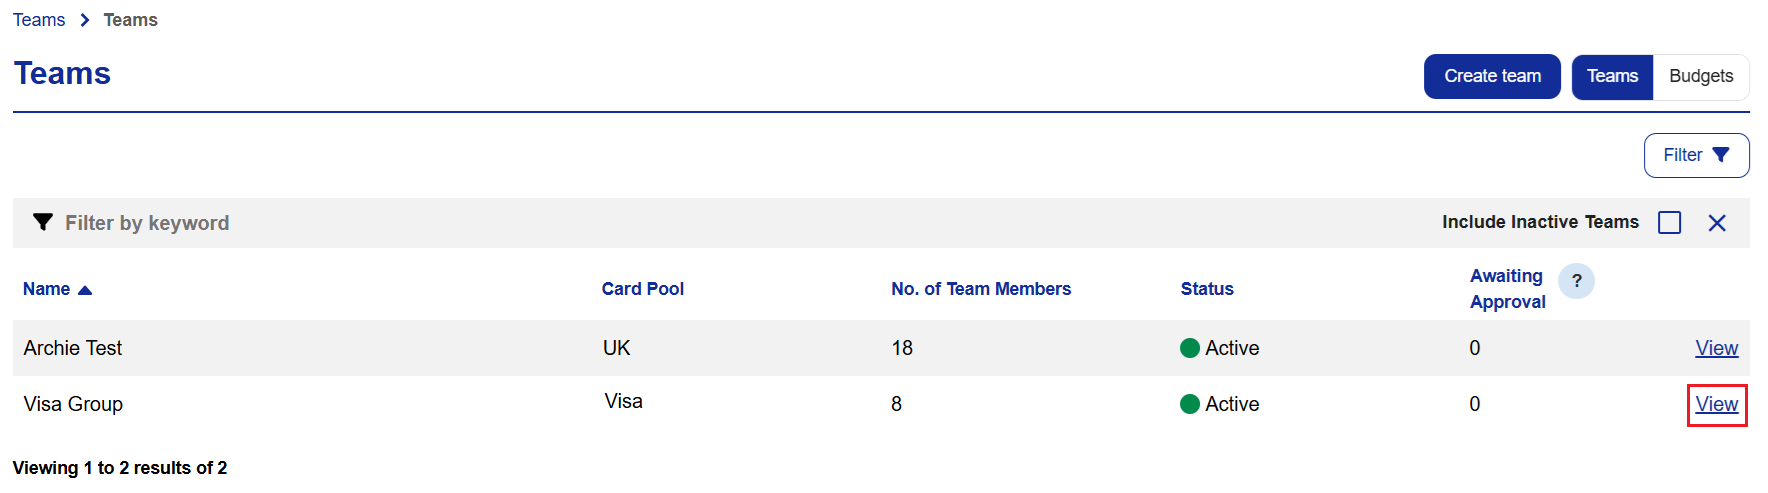
Select Teams from the navigation bar under Mobile Control.
Click Teams from the dropdown.
Select the Team you want to apply the budget against.
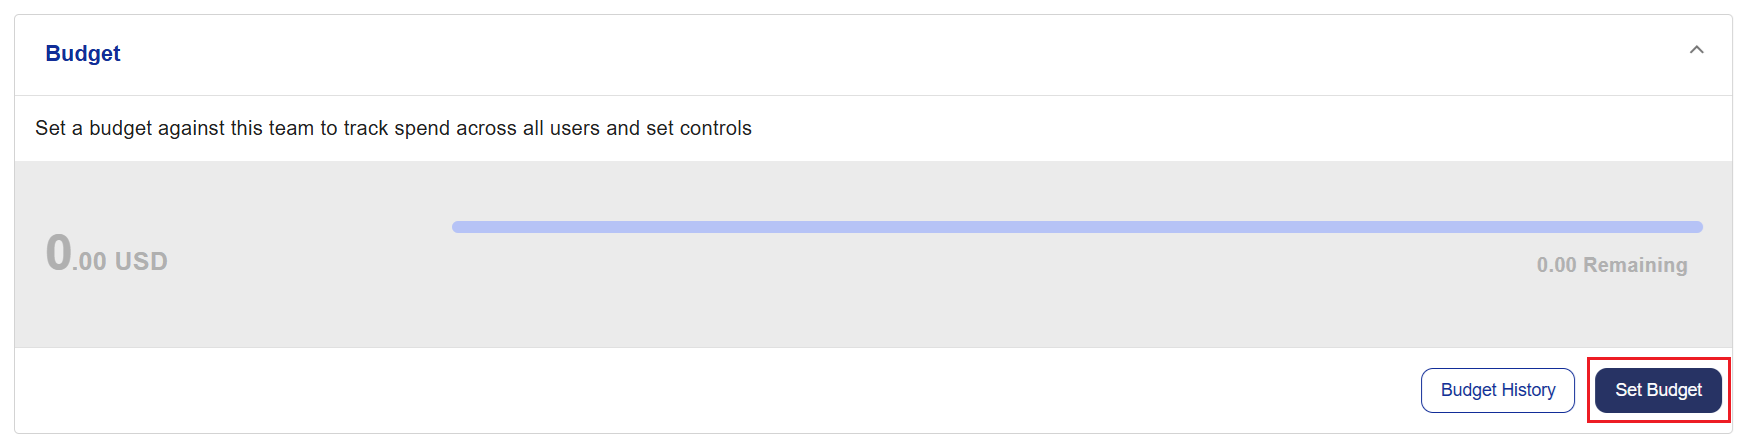
Scroll down to the Budget section, click Set Budget.
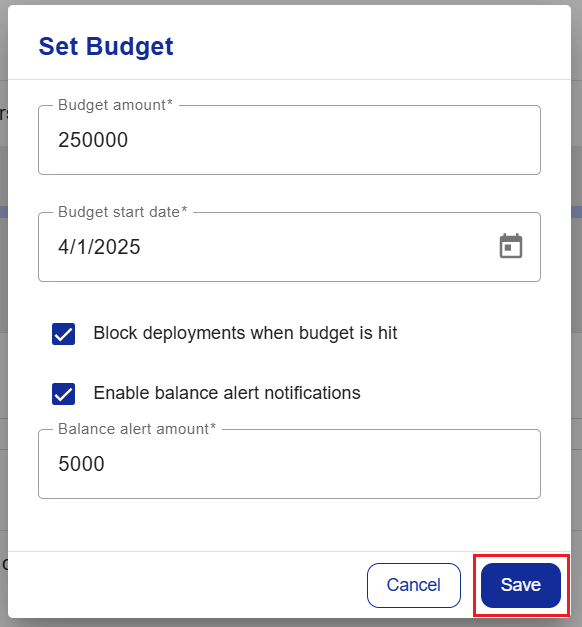
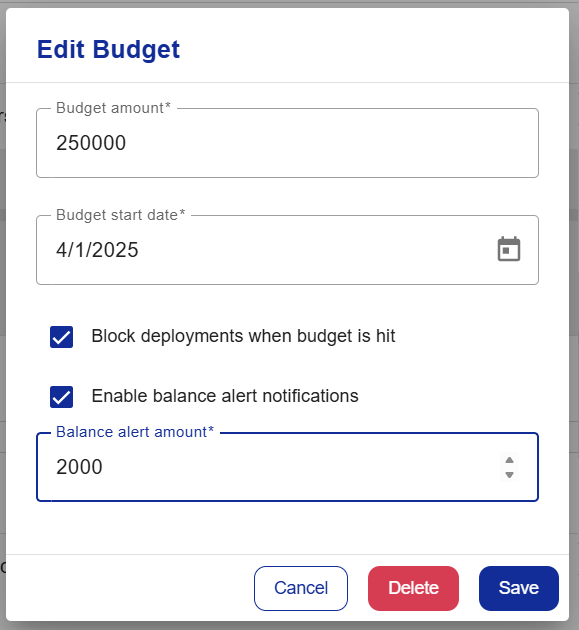
Enter your budget amount.
Choose a budget start date. The budget will reset on the same date the following month.
Tick Block deployments when budget is hit to prevent new deployments from being created when the budget limit has been reached, if required. The budget limit decreases based on settled transaction values, not card deployment values.
Tick Enable balance alert notifications if this required.
Add the Balance alert amount. If this is selected the Team Admins and Corporate Admins will receive a notification when the specified amount has been reached, and when the budget limit has been reached.
Click Save.
Team Administrators and Corporate Administrators will receive a monthly notification showing team spend against the budget.
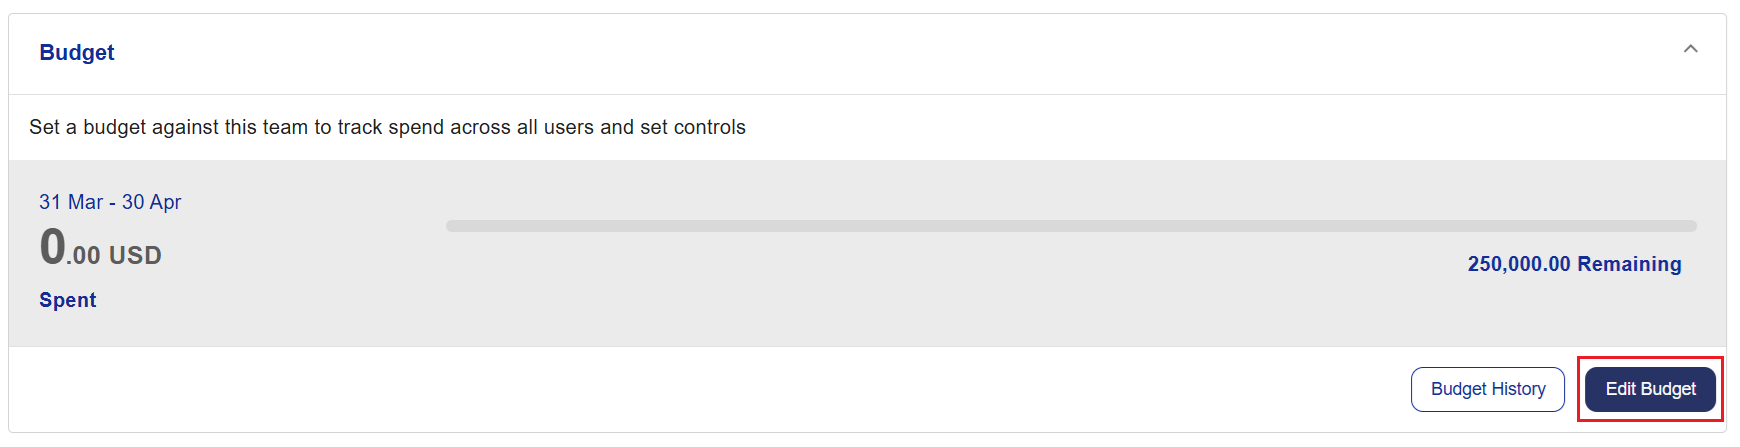
Corporate Admins have the ability to edit or delete a budget:
Click Edit Budget.
Make the required changes.
Click Save or Delete.
Note
If changes are made to the budget amount or budget start date, the existing budget and rules will end on the day the change was made. The new budget rules will commence from the start date entered. Changes to block deployments and balance threshold will not impact the active budget.
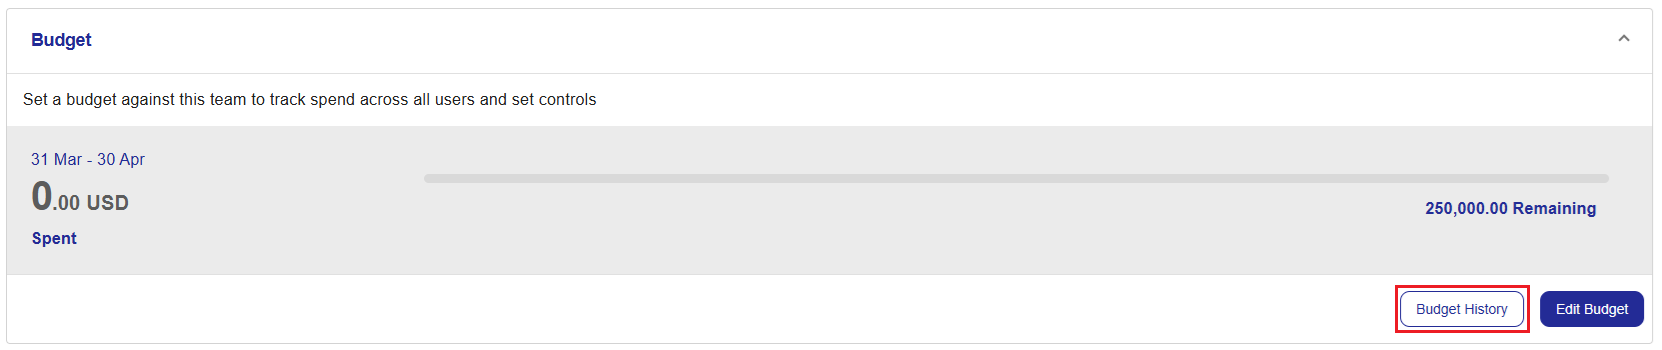
The Budget History button will allow Corporate Admins to view the following:
 |
Past Budget - past budget periods will be displayed.
Actual Expenditures - displays the total amount of transactions carried out during the budget period.
Budget Amount - displays the budget amount that was created by the Corporate Admin.
Budget vs Actual - displays the difference between the budget set and the total expenditure for the period.
Cards issued - displays the number of cards issued during the budget period.
A graphical view of the budget will be displayed.
The download button can be used to download the table view of the budget period or selected budget period into Excel.

Active Budget View
The Corporate Admin can view all teams' active budgets from the Teams list by toggling on Budgets, the following columns will be displayed:
Team - displays the team name.
Actual Expenditures - displays the total amount of transactions carried out during the budget period.
Budget Amount - displays the budget amount that was created by the Corporate Admin.
Budget vs Actual - displays the difference between the budget set and the total expenditure for the period.
Cards issued - displays the number of cards issued during the budget period.
A graphical view of the budget will be displayed.
The download button can be used to download the table view of the budget period or selected budget period into Excel.
 |
Note
The budget period will automatically be created for the next period, the Corporate Admin will not need to set a budget each month. If the budget is deleted, no further budgets will be created and the Corporate Admin will need to create a new budget.
Invoice Payment Request
We have introduced auto-grouping and auto-fulfilment to consolidate supplier payments via batch deployments in Visa Commercial Pay Online. Users are able to group multiple payment requests into fewer cards, improving efficiency and simplifying payment management. Payments will be made on the date of the earliest invoice due date.
To submit a payment request:
Go to Payments in the navigation bar.
Select Payment requests from the menu bar. If you can't see this, click More and the option will be displayed.
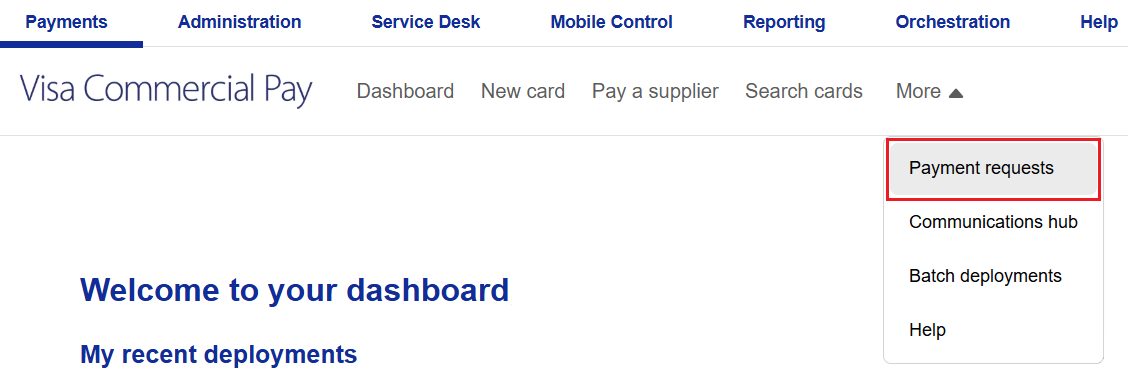
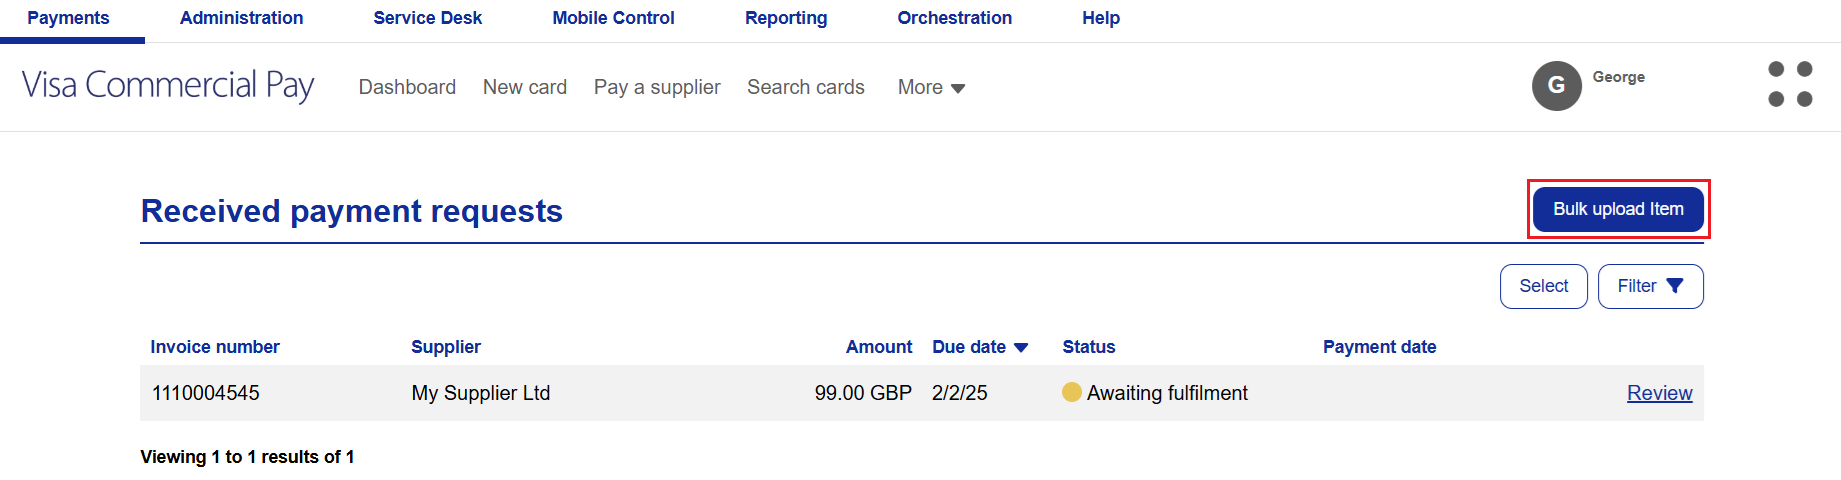
Users will see all previously uploaded payment requests. If there are no previously uploaded payment requests, users will be able to upload one.
Click Bulk upload item:
Upload your completed payment spreadsheet, or download and complete a sample file, containing the following headers:
Supplier identifier - this reference is a unique identifier used to group suppliers
Supplier name - name of the supplier
Supplier address - supplier address details
Supplier email address - supplier email address
Invoice number - invoice reference number
Invoice amount - total amount of the invoice
Invoice currency - currency of invoice
Payment due date - date payment is due by
Invoice date - date invoice was issued
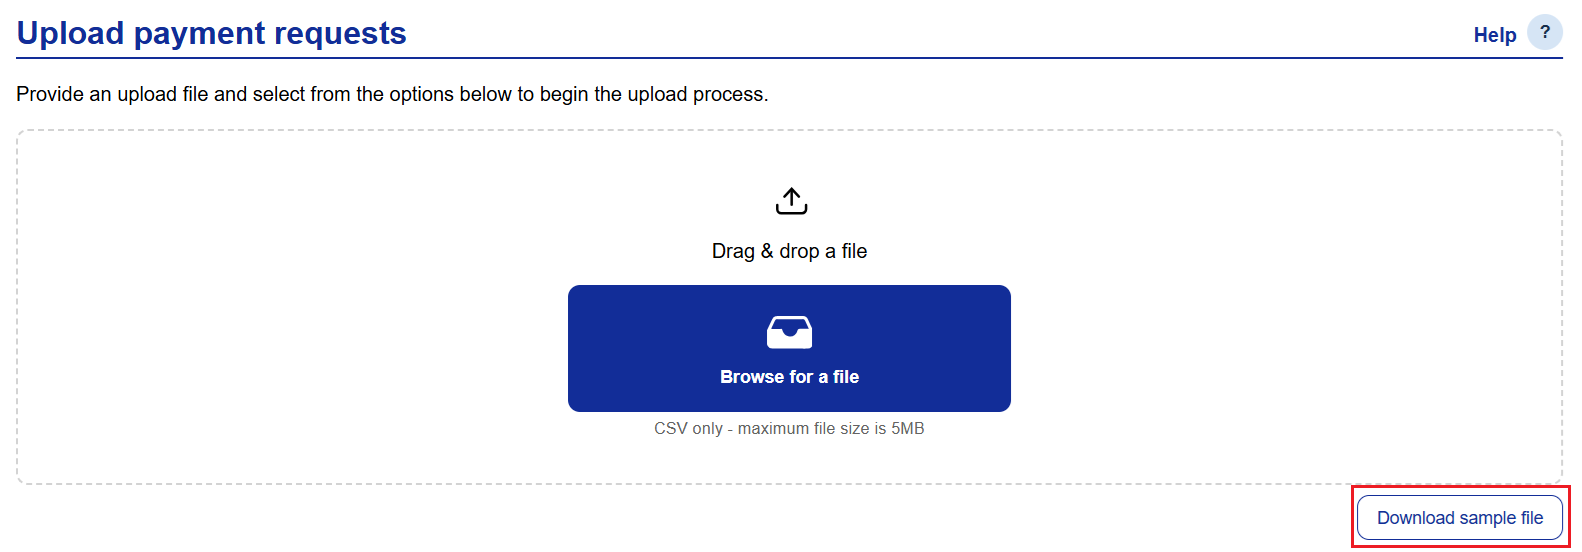
During the file upload a history of previous uploads will highlight the number of rows created. This will look at each row individually and not if they have been grouped.
Configuration to access Payment Request can be set up at Card Pool group level.
When auto-fulfilment has been enabled, the system will automatically create a card from the selected default Card Pool. Payments will be fulfilled by the earliest payment due date of the grouped payments. To enable auto-fulfilment:
Select Administration from the navigation bar.
Select Payment requests followed by Settings.
Toggle on Auto fulfilment.
Select a Card Pool.
Click Save settings:
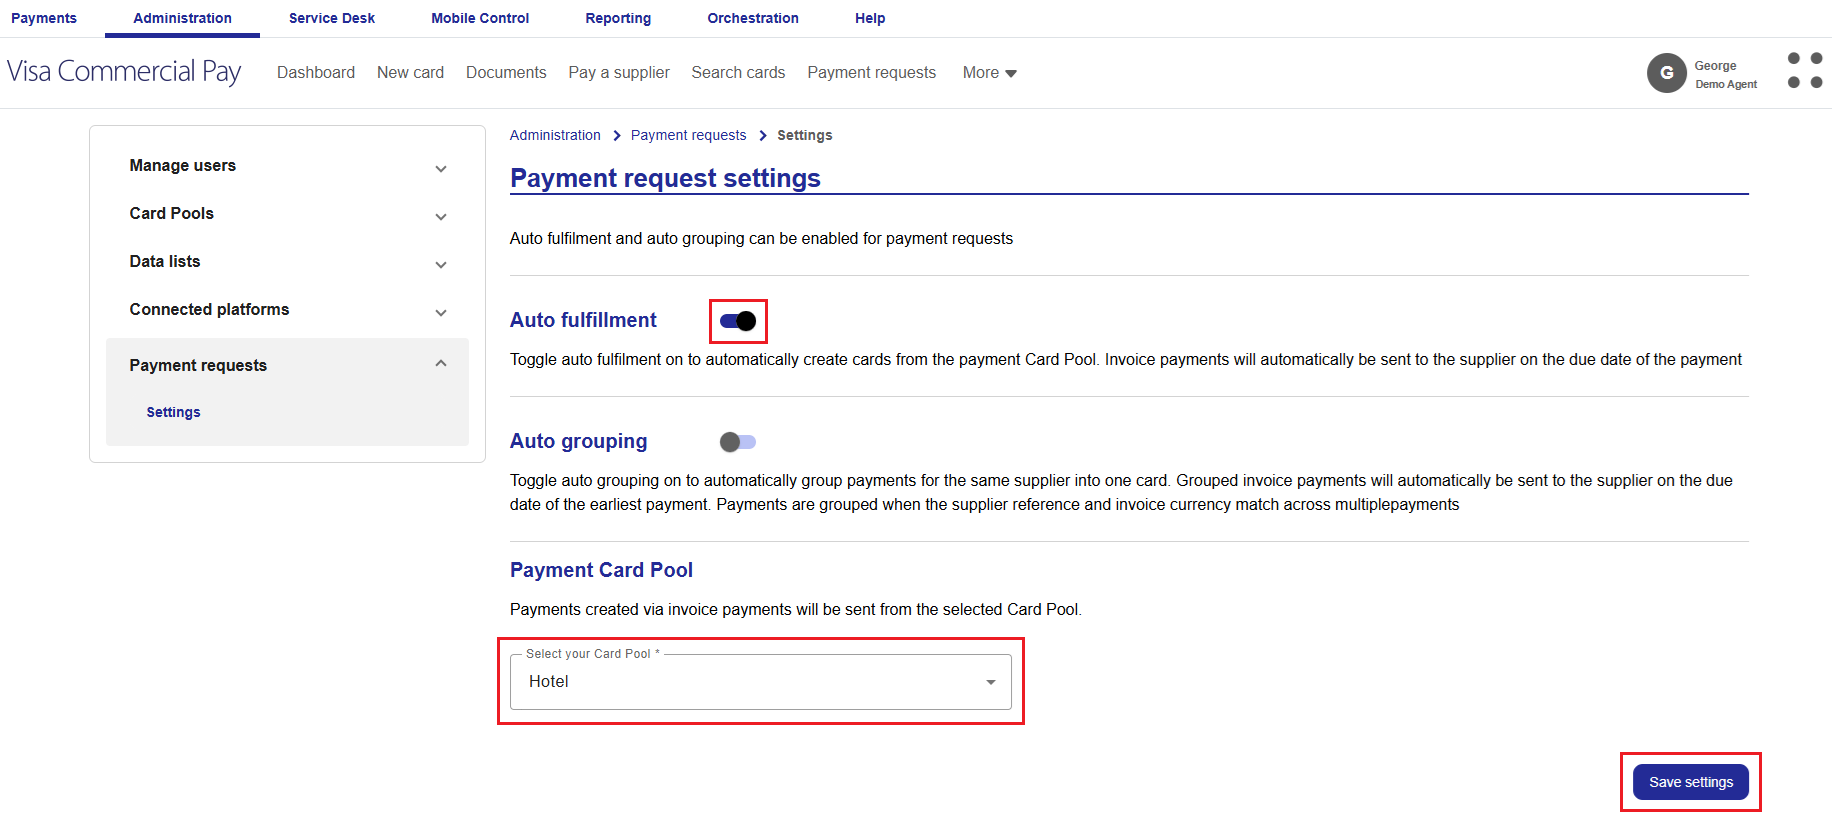
If the amount of the payment, or grouped payment, is not above zero the system will not auto-fulfil. Toggle on to enable.
Note
If the supplier is set up with a Straight-Through Payment Provider, the payment will be sent via that provider.
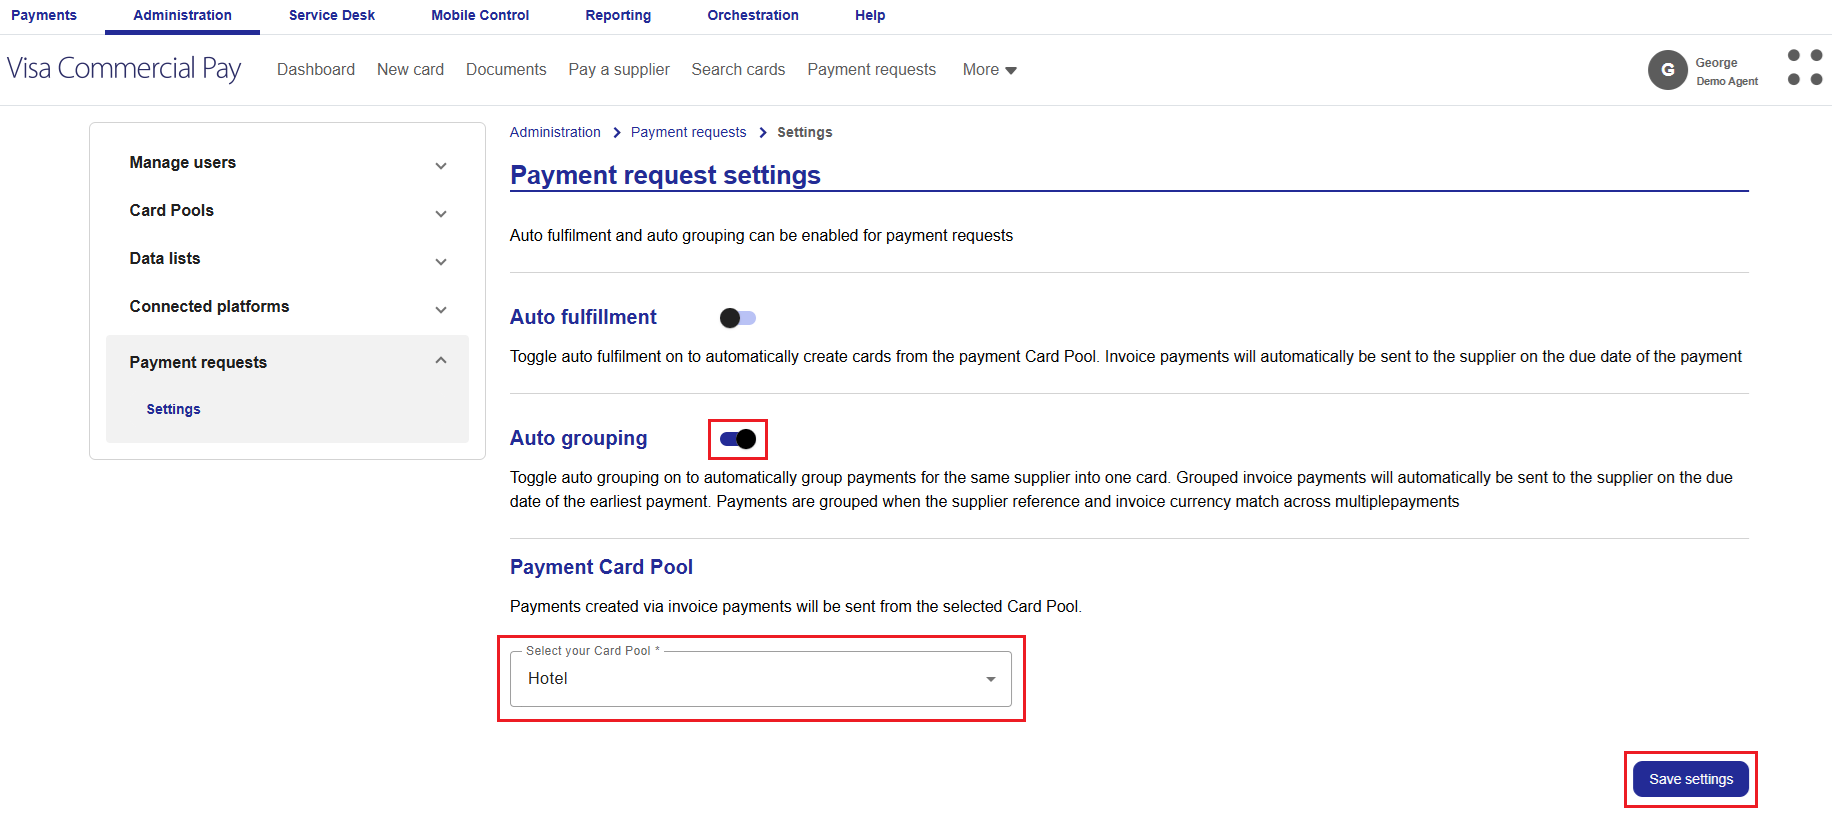
When auto-grouping is enabled in the settings, the uploaded rows will be reviewed and payments will automatically be grouped together when the supplier reference and invoice currency are an exact match. To enable auto-grouping:
Select Administration from the navigation bar.
Select Payment requests followed by Settings.
Toggle on Auto grouping.
Select a Card Pool.
Click Save settings:
Note
If the system doesn’t match the payments, the row will appear in the payment request summary screen. The user can manually group the payment or add it to existing grouped payments, if the existing payments are awaiting fulfilment.
Reviewing Payments
To review payments:
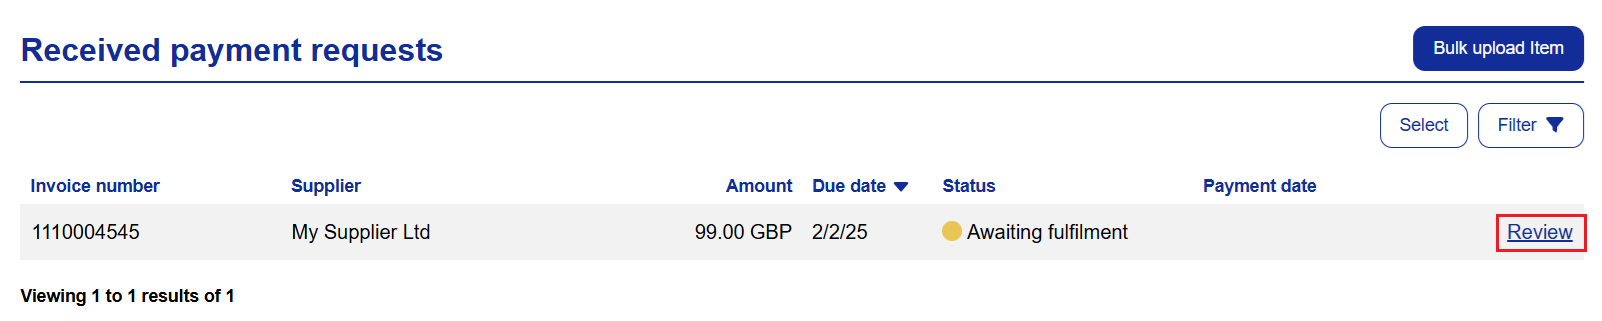
Click Review to view the payment details:
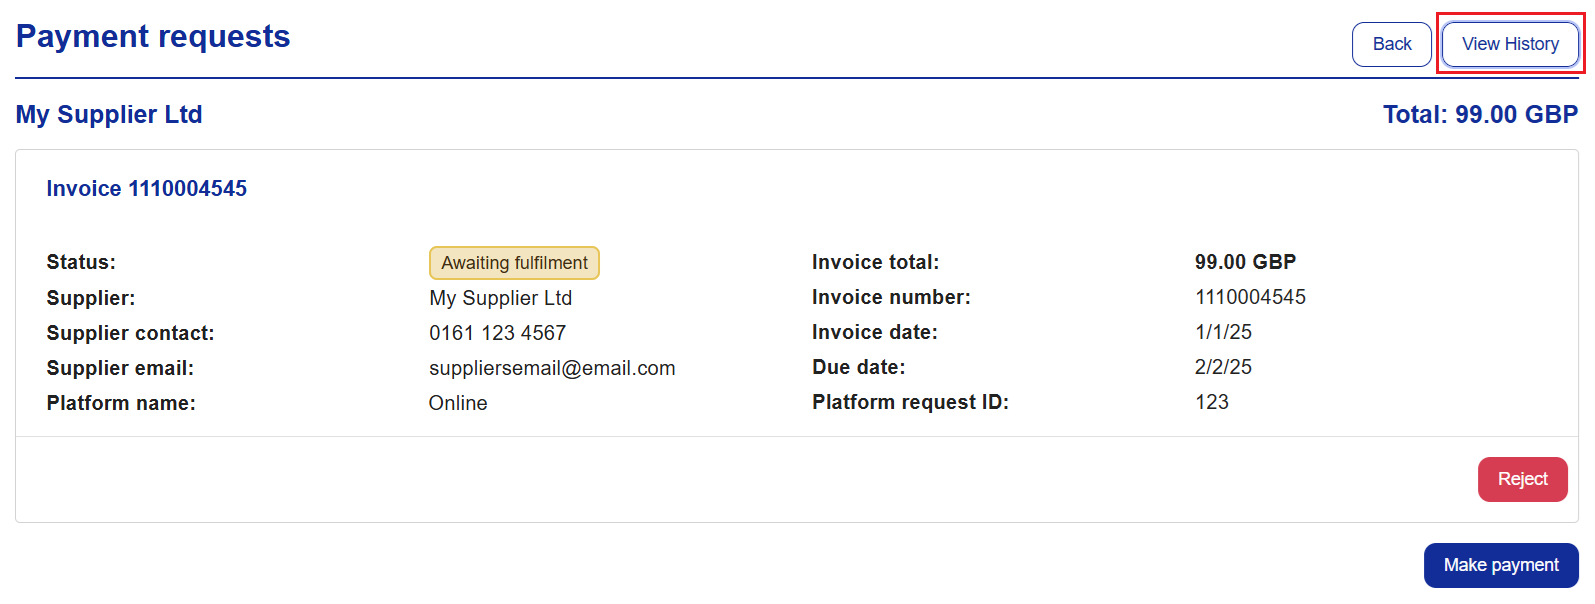
Click View History to view the fulfilment history:
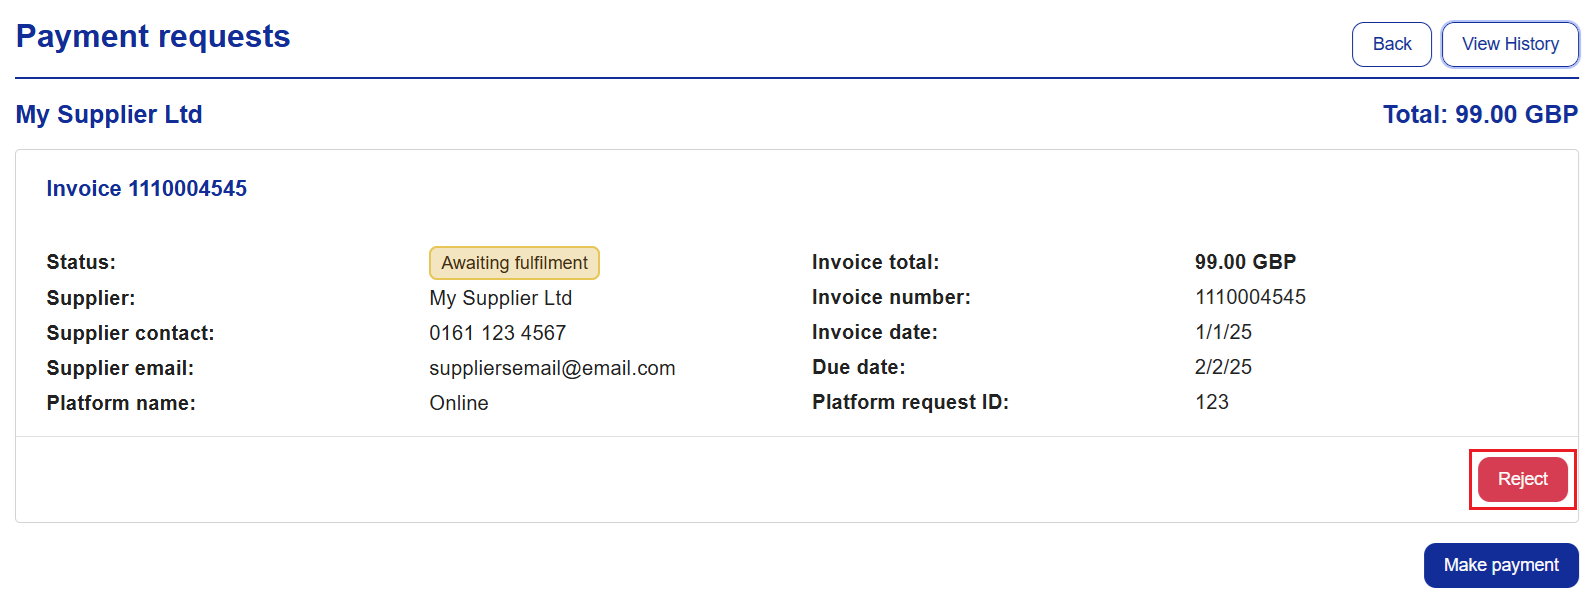
Click Reject to reject the payment request.
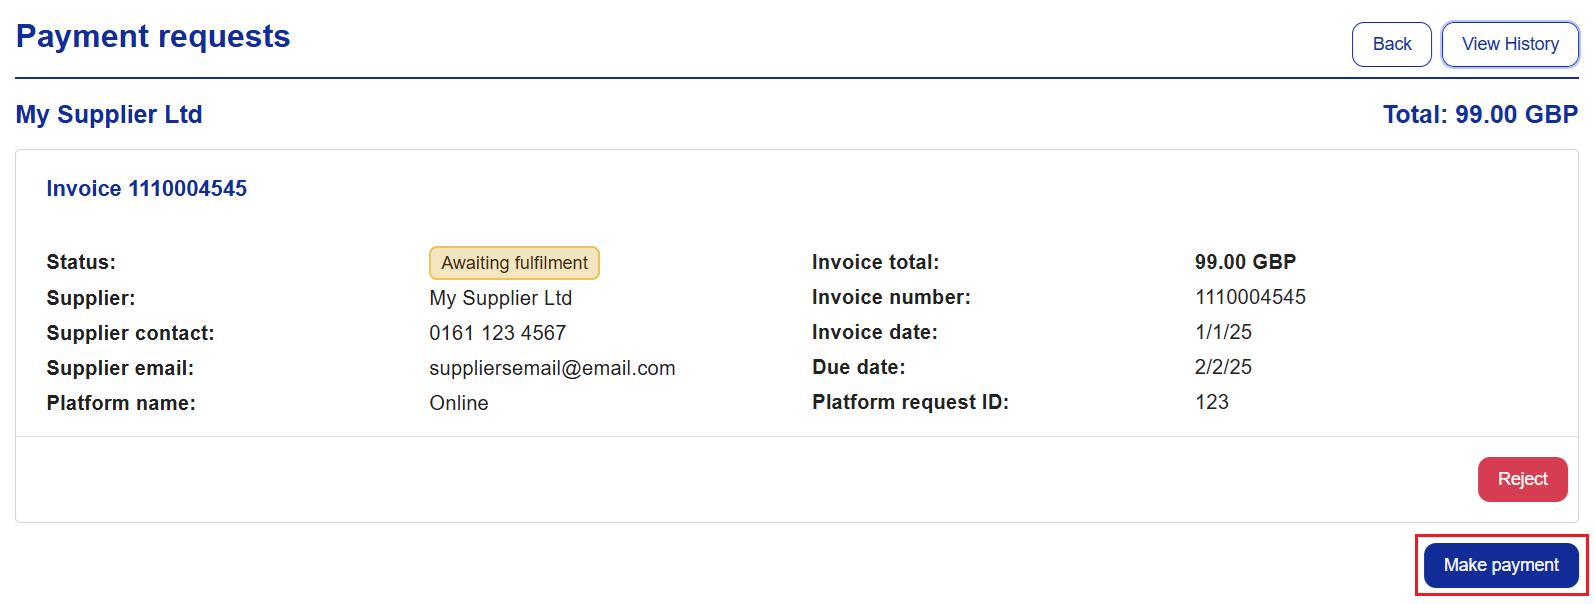
Click Make Payment to create a card for the invoice.
Resetting Security Details
We have introduced the ability for Corporate Administrators to be able to reset security details for Visa Commercial Pay App users in Visa Commercial Pay Control. To do this:
Select Teams from the navigation bar under Mobile Control.
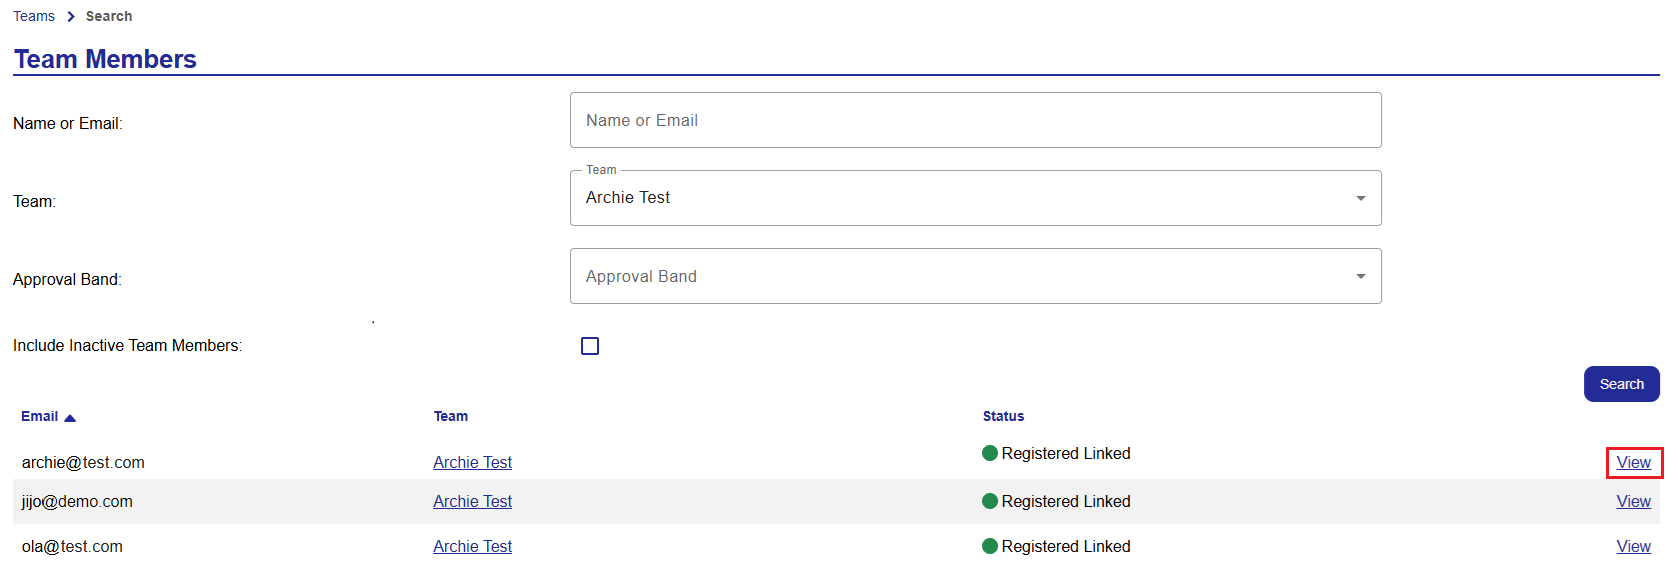
Select Team members.
Search for a team member by:
Name or Email
Team
Approval Band
Click Search.
Select the team member.
Click Actions.
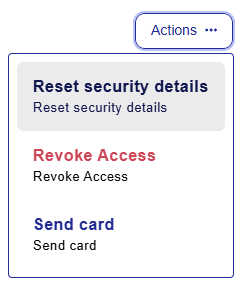
Select Reset security details and confirm you want to go ahead.
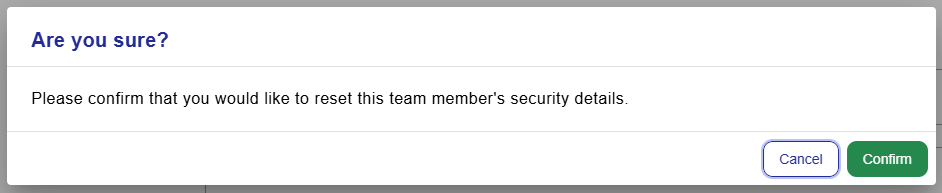
You will receive confirmation that the security details have been reset successfully:
 |
The team member will receive a link via email, after clicking the link they will be asked to enter their password and they will then be able to update their security question and answer.